Import contact data from another platform into Audience Center Contacts with this Webhook.
How To Set Up an Incoming Webhook in Act-On for All Contacts
Create a New Webhook
- Go to Settings > Connectors > Custom Integrations > Incoming Webhooks.
- Click + Create Webhook.
- Select Custom from Webhook source.
- Enable Verification.
- Enter a Verification method. Authentication is added and needs to be included with the outgoing webhook. This is to validate the authenticity of the incoming webhook.
-
- If you select Token, Act-On will create one for you.
- If you select Basic, enter a username and password. It can be anything as long as it is secure.
- If you select Digital Signature, enter all the parameters found in the developer documentation for the Webhook Sender.
- Enable Content Mappings.
- Continue to mappings if the payload of the incoming webhook is already known, otherwise, skip to Create.
- Example: a Calendly payload will look like this:
-
These instructions have more details on how to manage webhooks in Calendly.
- Example: a Calendly payload will look like this:
- Map the variables from the incoming webhook to the corresponding Act-On field
- Consider mapping the calendar name or another variable to a custom Act-On field that can be used to easily segment webhook-sourced contacts.

- Click Create to save your webhook.
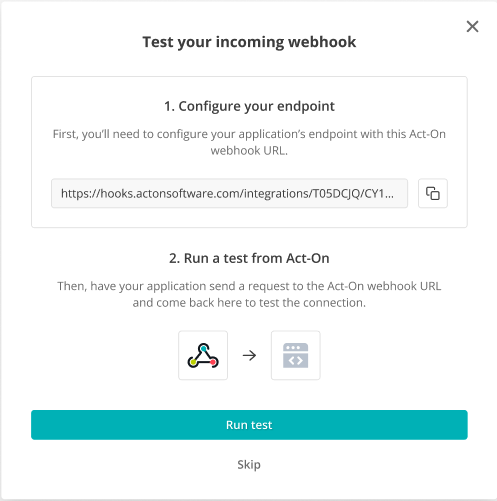
Test Your Webhook
Incoming webhooks must be tested before being enabled to be operational and actively process messages from third parties. Testing verifies the payload structure and validates the required data is present; however, it does not take any action in Act-On based on the received data. No test data will be saved in Act-On contacts from the test.
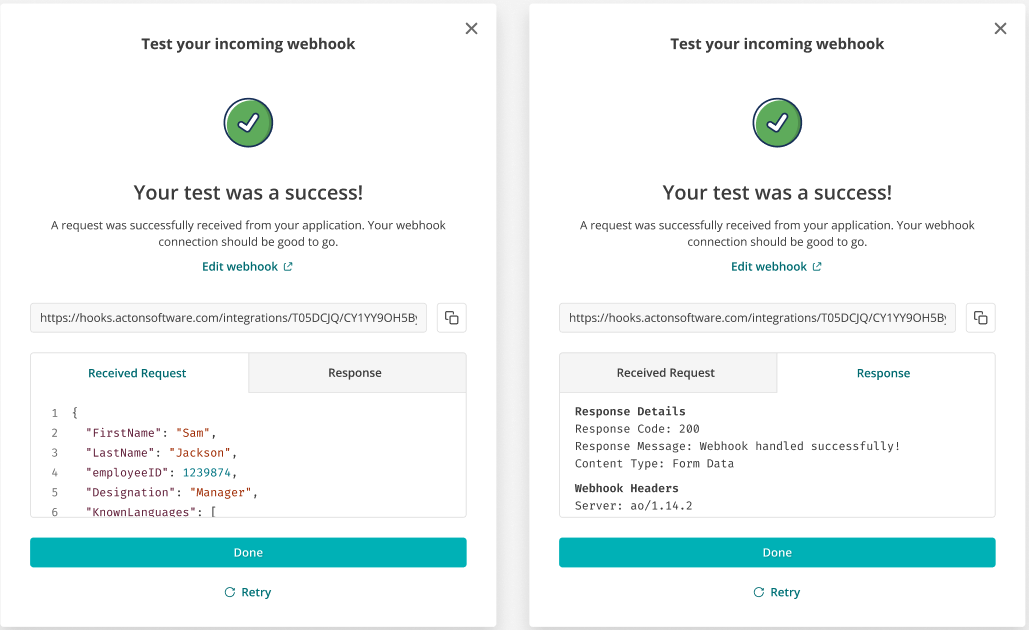
Example of a successful test:
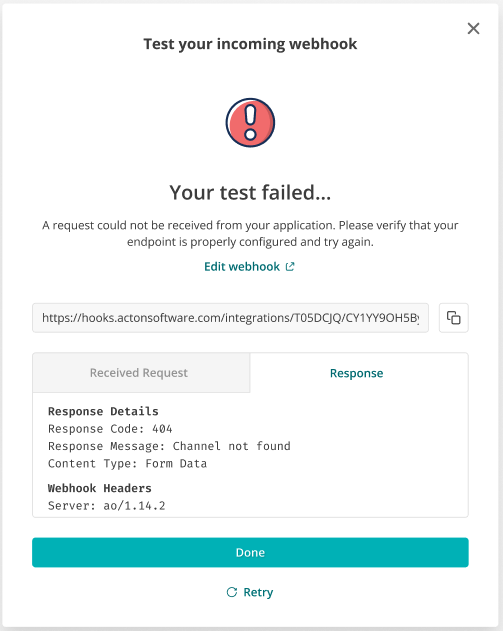
Example of a failed test:
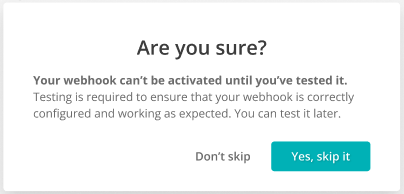
Testing can be skipped on Create, but it is required to be complete and successful before enabling the webhook:
Edit Your Webhook
All webhooks can be edited; however, only certain fields are editable. Furthermore, retesting is required if critical fields that impact the webhook function are changed.
| Field | Visible | Editable | Retest Required |
| Webhook name | Yes | Y | N |
| Description | Yes | Y | N |
| Webhook source | Yes | N | N/A |
| Authentication | PW is not visible Token is not visible |
Y | Y PW can only be re-entered Token can only be re-generated |
| Channel | Yes | N | N/A |
| Data mappings | Yes (only for Custom) | Y | Y |