Boost engagement by adding a timely, handwritten, personalized “thank you” note, cutting through the digital noise, surprising & delighting customers at exactly where they are in their shopping journeys.
You can do this using IgnitePOST and Act-On. In IgnitePOST, get an API key and a template ID. Then in Act-On, create a webhook and an Automated Program for it. Carry out the following steps.
This feature is only available when using All Contacts. If you don't see All Contacts, please fill out the form here to request this feature activation.
Get an API Key in IgnitePOST
- Login to IgnitePOST.
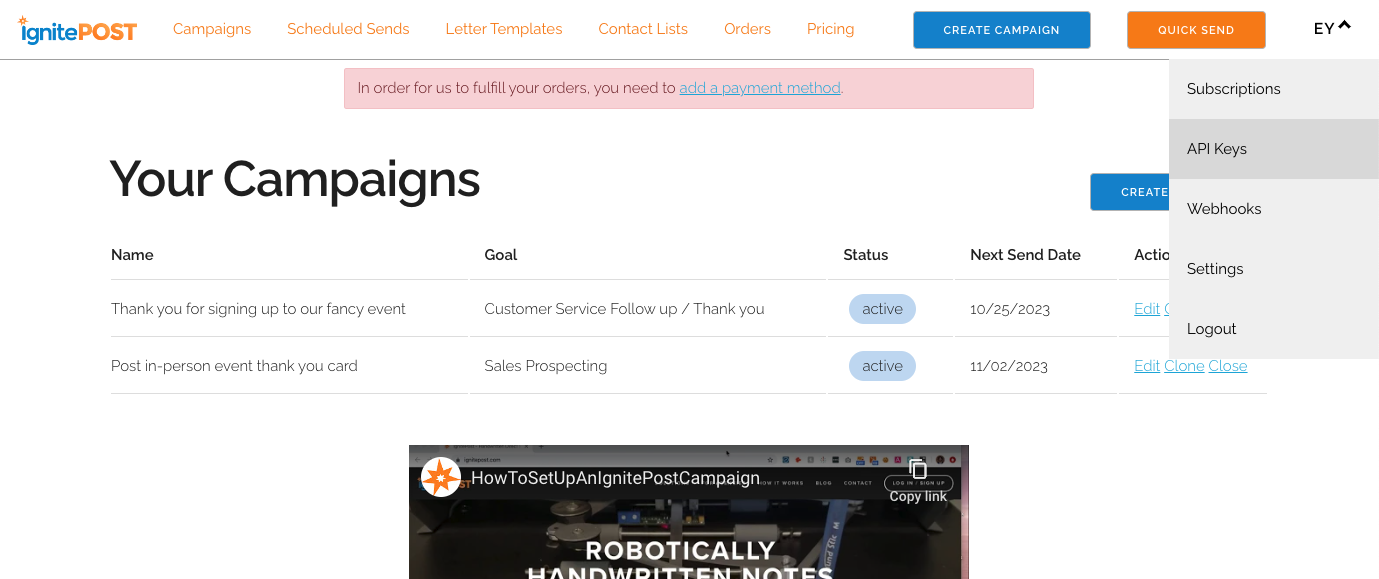
- Navigate to Profile > API Keys.
You will need to request a Production API key directly from IgnitePOST when you are ready to enable the integration in production.
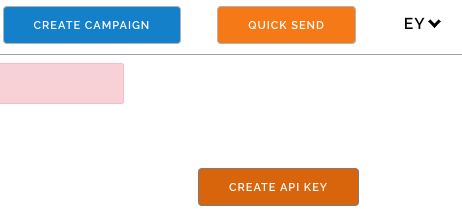
- Click Create API Key:
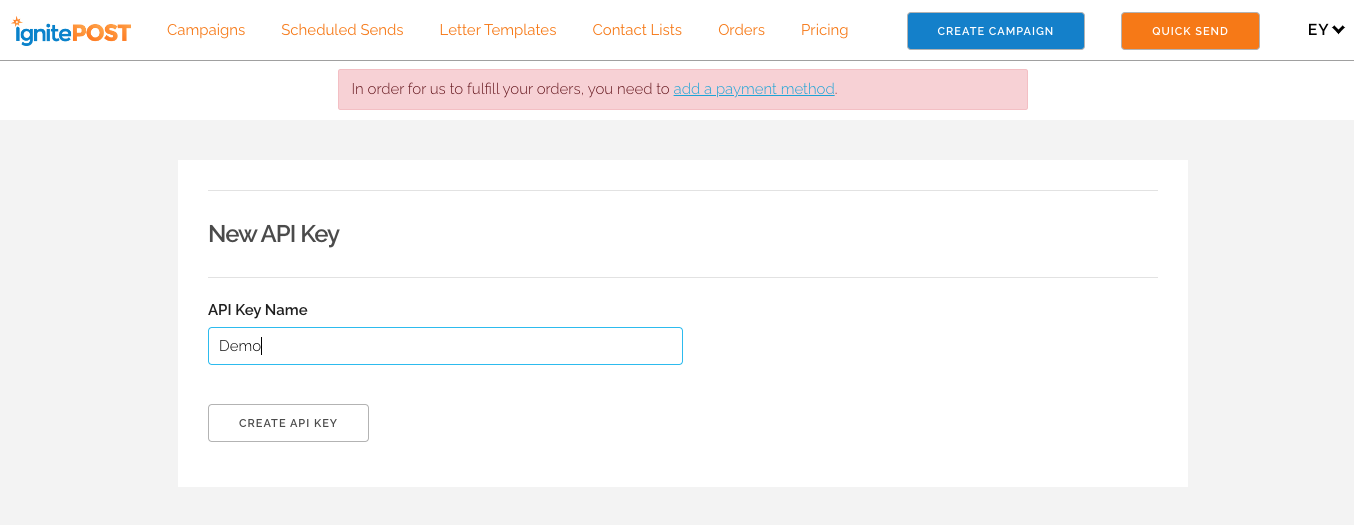
- Add a name for the key and Generate API Key:
- Click Show on the desired token key and copy it somewhere secure:

Create & Get a Template ID in IgnitePOST
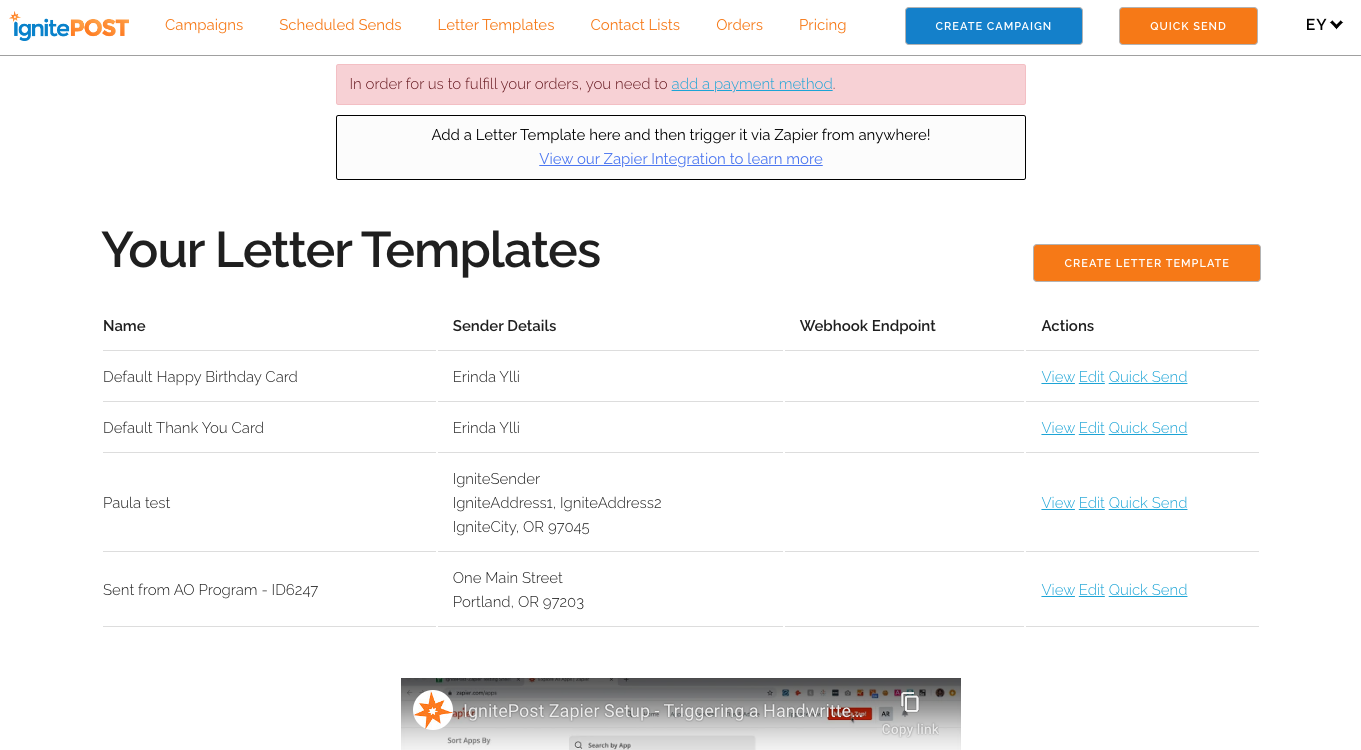
- Navigate to the homepage and click the Create Letter Template button:
- Add content as follows:
- Name: Required
- Webhook Endpoint: Leave blank. This is only needed if you wish to trigger a webhook when the letter is sent.
- Sender details: Optional. If you do not add the details here, you must include them with your webhook.*
- Handwriting style: Defaulted. Any selection here can be overridden with the webhook message.*
- Design: Any selection here can be overridden with the webhook message.*
* see below.
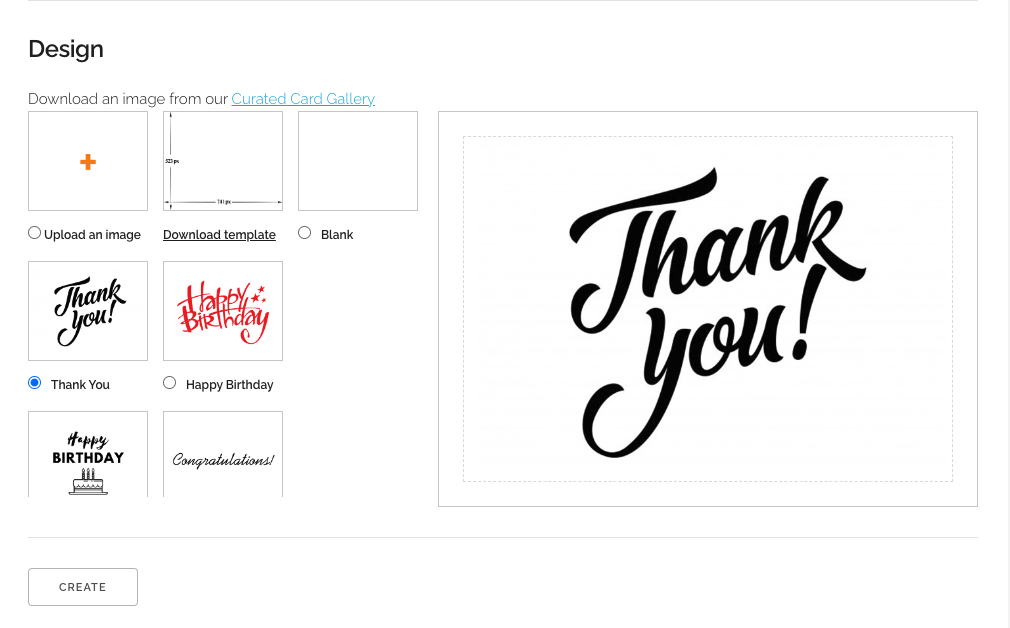
- Click Create.
- Once saved, the template ID displays under the Template Name. You can retrieve the template ID by viewing the template:

Create a Webhook in Act-On
- When signed in to Act-On, go to Settings > Connectors > Custom Integrations > Outgoing Webhooks.
- In the Endpoints tab, at the top right, click + Add Endpoint.
- Add relevant information. There are two options here. You can choose to create one from a template or a blank.
- Template:
- Click the Transformation template tab.
- Click Adaptation for IgnitePOST.
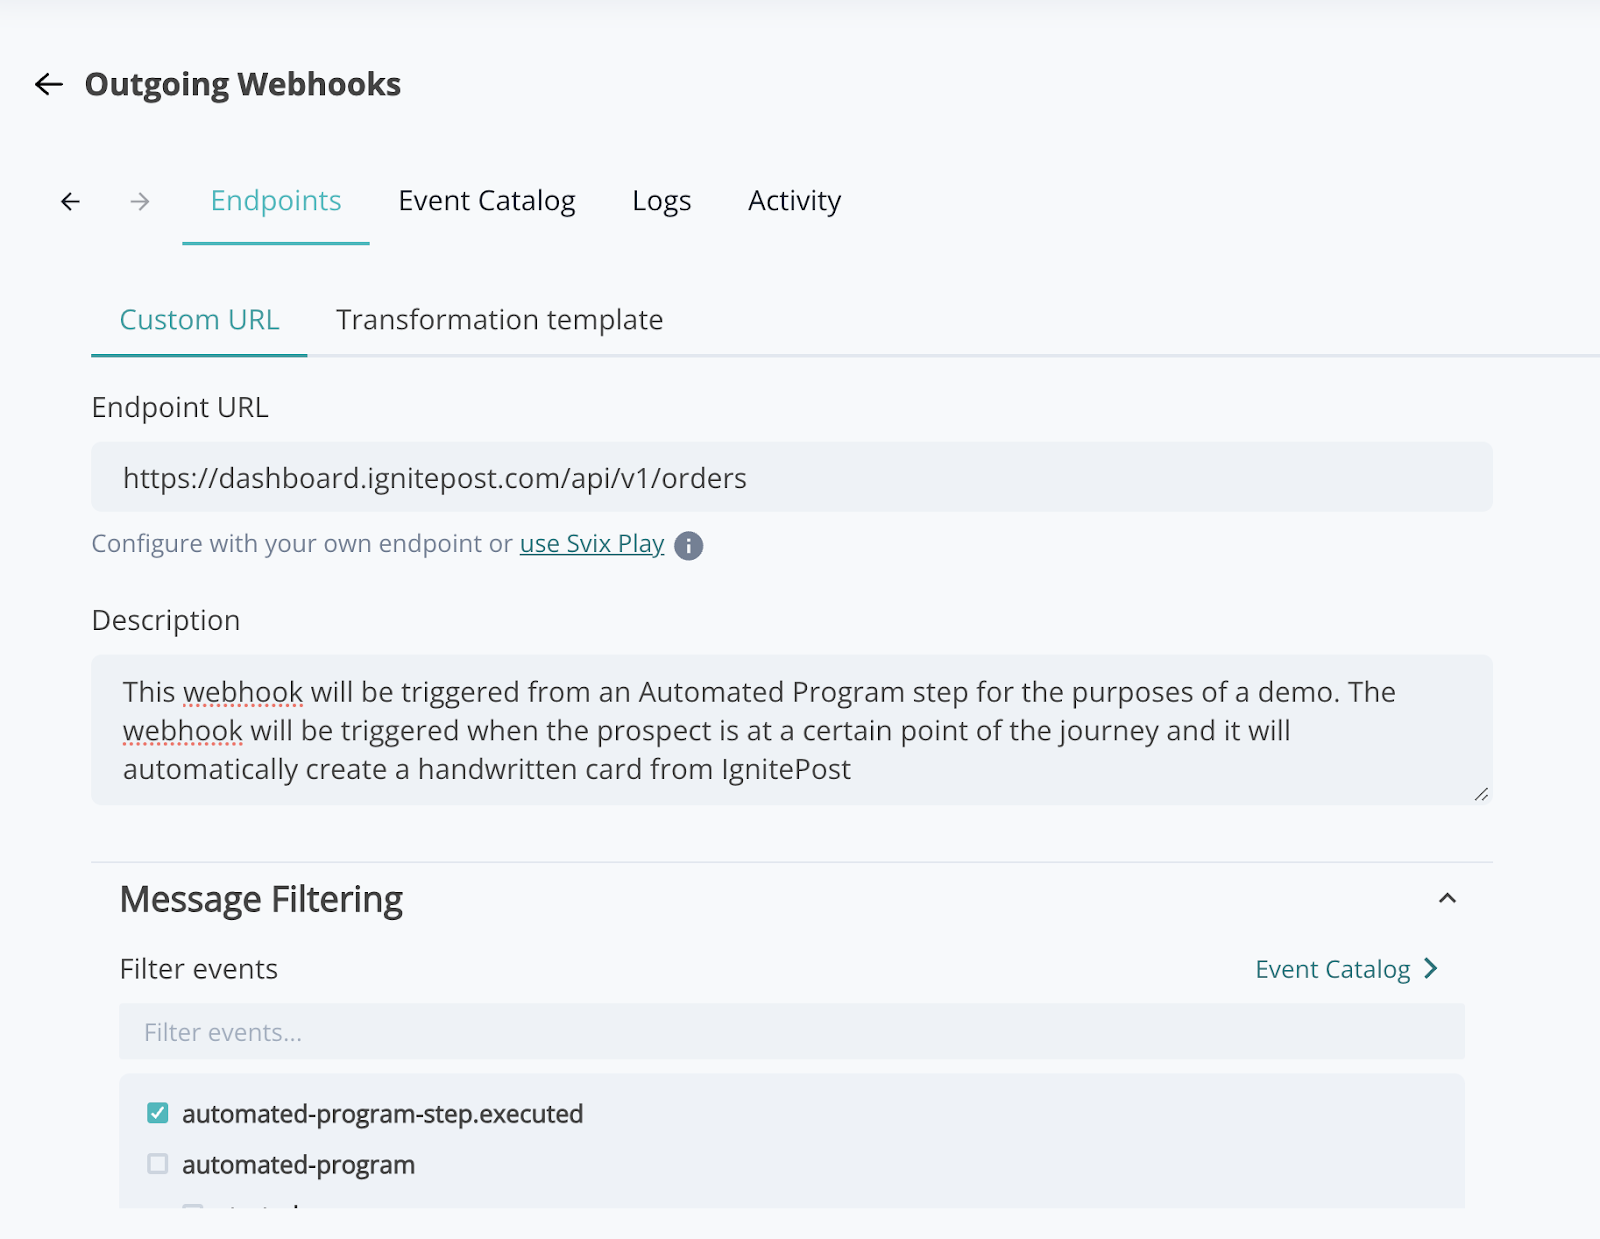
- Enter the Endpoint URL https://dashboard.ignitepost.com/api/v1/orders
- In Filter events, the event automated-program-step.executed should already be selected.
- At the bottom, click Create.
- Blank:
- Click the Custom URL tab
- Enter the Endpoint URL - POST https://dashboard.ignitepost.com/api/v1/orders
- Description: Optional, but recommended to add a description that is relevant to the use case.
- In Message Filtering, select automated-program-step.executed:
- Template:
-
-
- At the bottom, click Create.
-
- In Outgoing Webhooks > Endpoints click your endpoint to edit it.
- In the Advanced tab, in Rate Limit, enter the number of requests per second (RPS) as recommended by the third party who is accepting the webhook.
- In Custom Headers, type “X-TOKEN” in the Key box, and in the Value box enter the API key obtained earlier:
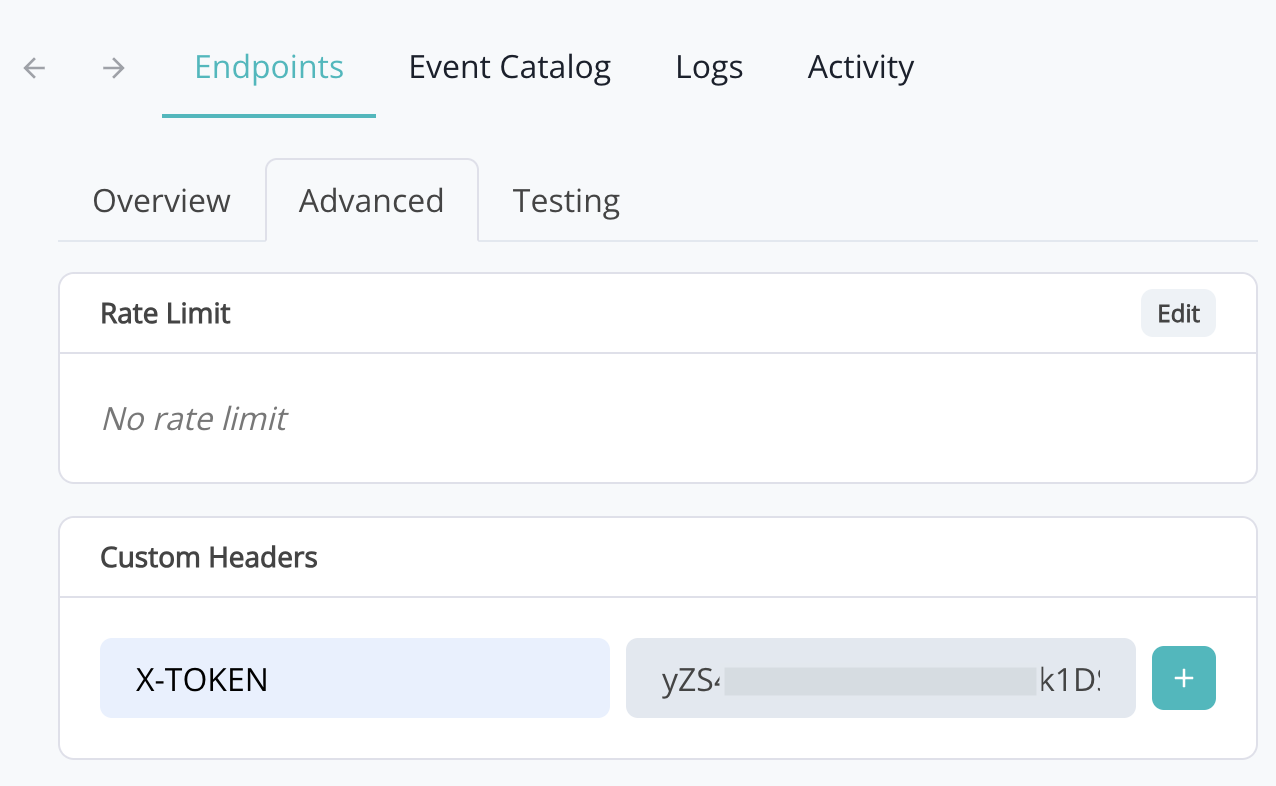
- Click the '+' button to save.
- In Transformations, toggle to Enabled:
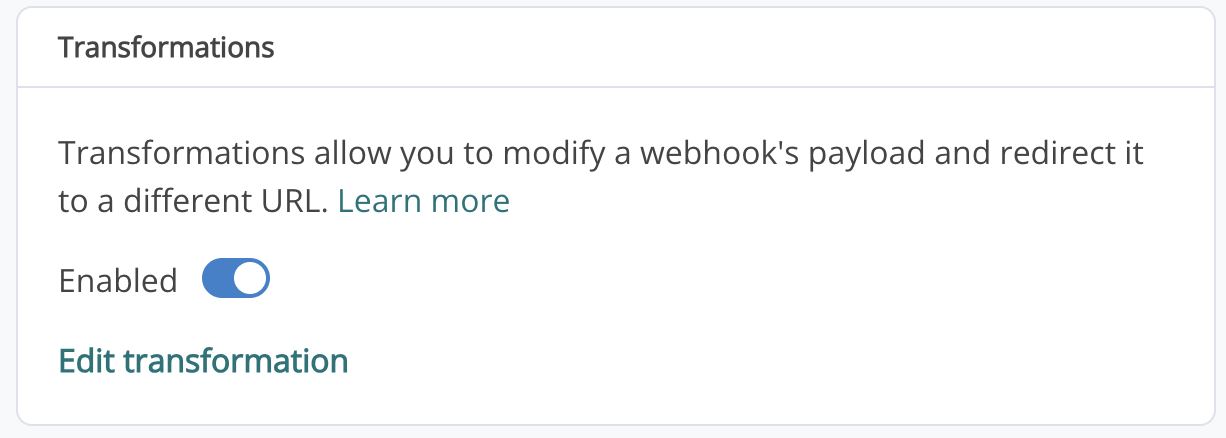
- Click Edit transformation.
- Make updates to the payload. If you copy and paste the example below, make sure you adapt the content based on your desired template:
- Update the letter_template_id value
- Update the message to include the desired message. You may include personalizations here in the format webhook.payload.contact["act-on field name"]
- Add “\n” in the message to add a line break for formatted messages.
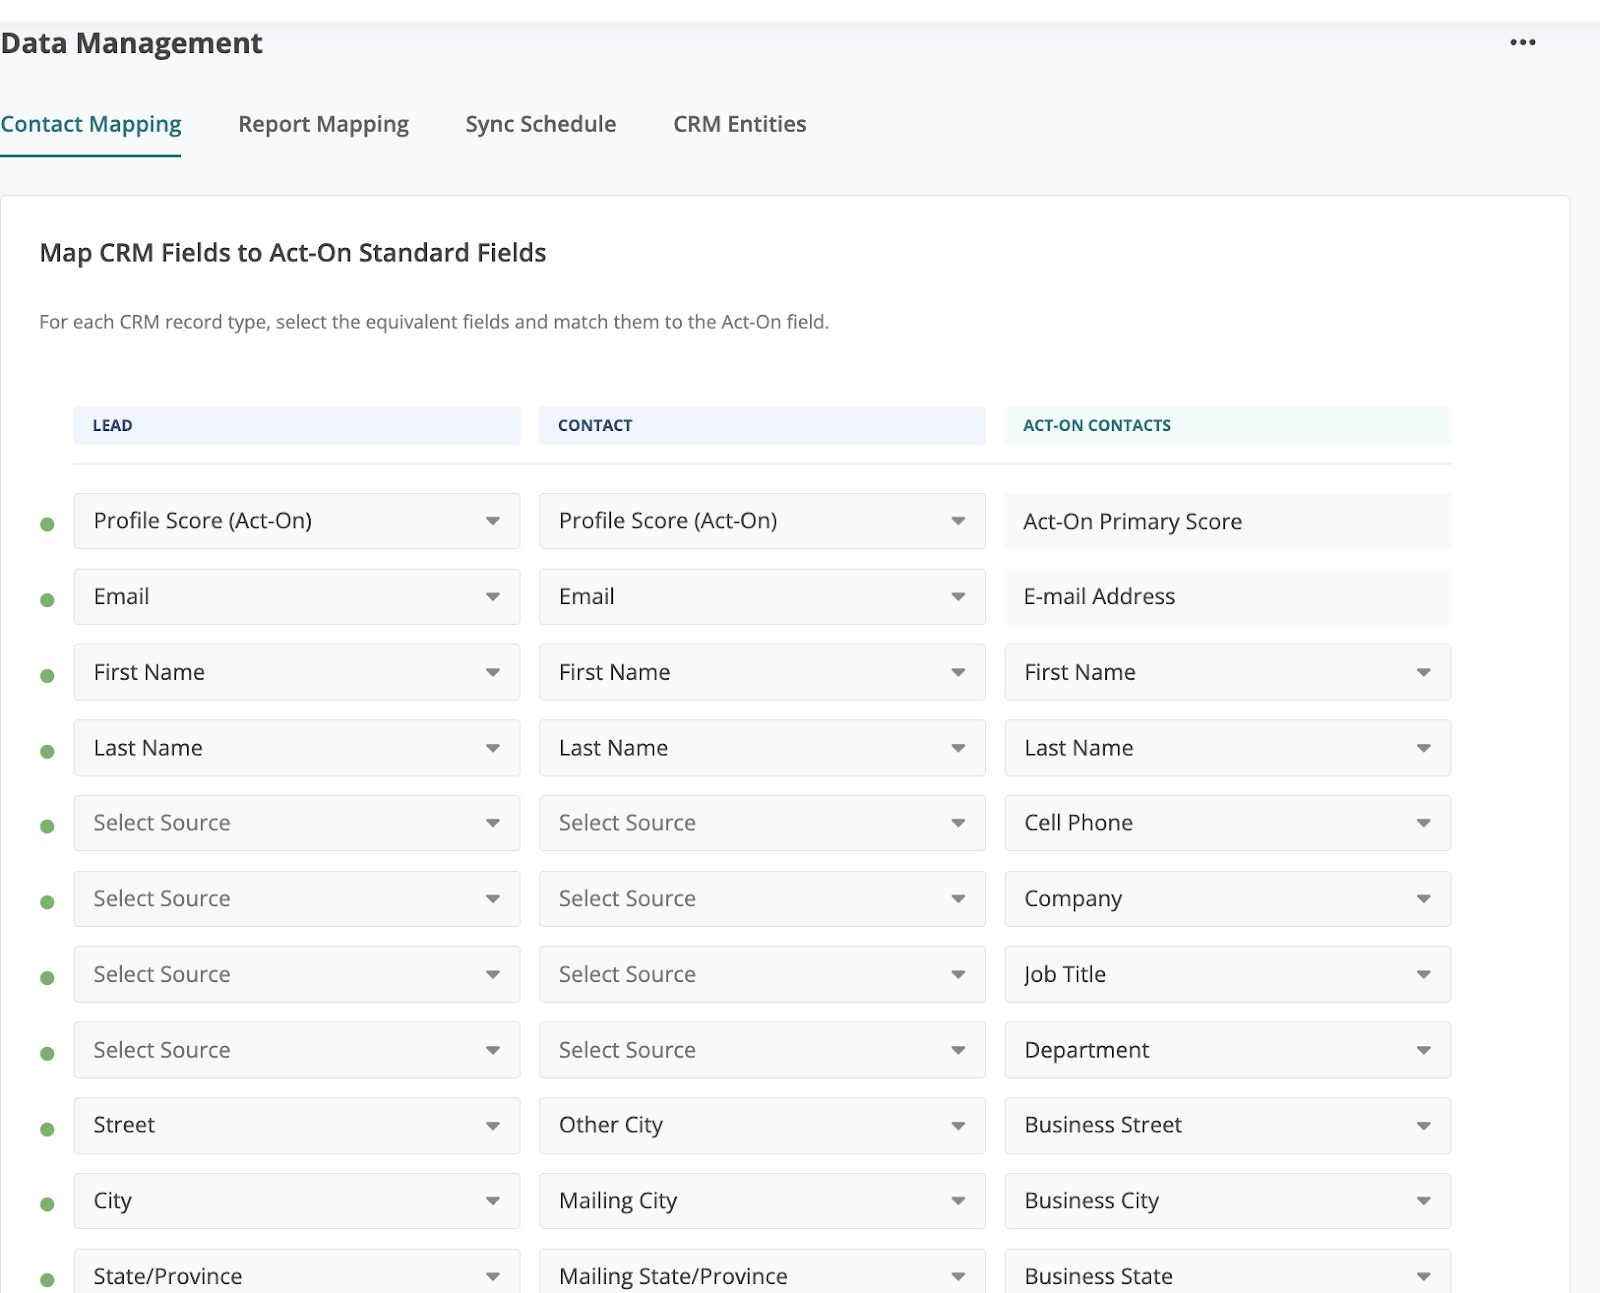
- Update personalization tokens if needed, based on the field names found in Data Management
- The format of the personalization should include:
- webhook.payload.contact - identifies that the transformation variable is updated from the webhook
- [“token”] - formatting required for the transformation to personalize accordingly
- Example personalizations from an Act-On account’s Settings > Data Management configuration:
- Mailing City - webhook.payload.contact["Business City"]
- Date and Time - webhook.payload.contact["Date and Time"]
- The format of the personalization should include:
- Click Run Test and confirm the email is received, validating the test as successful:
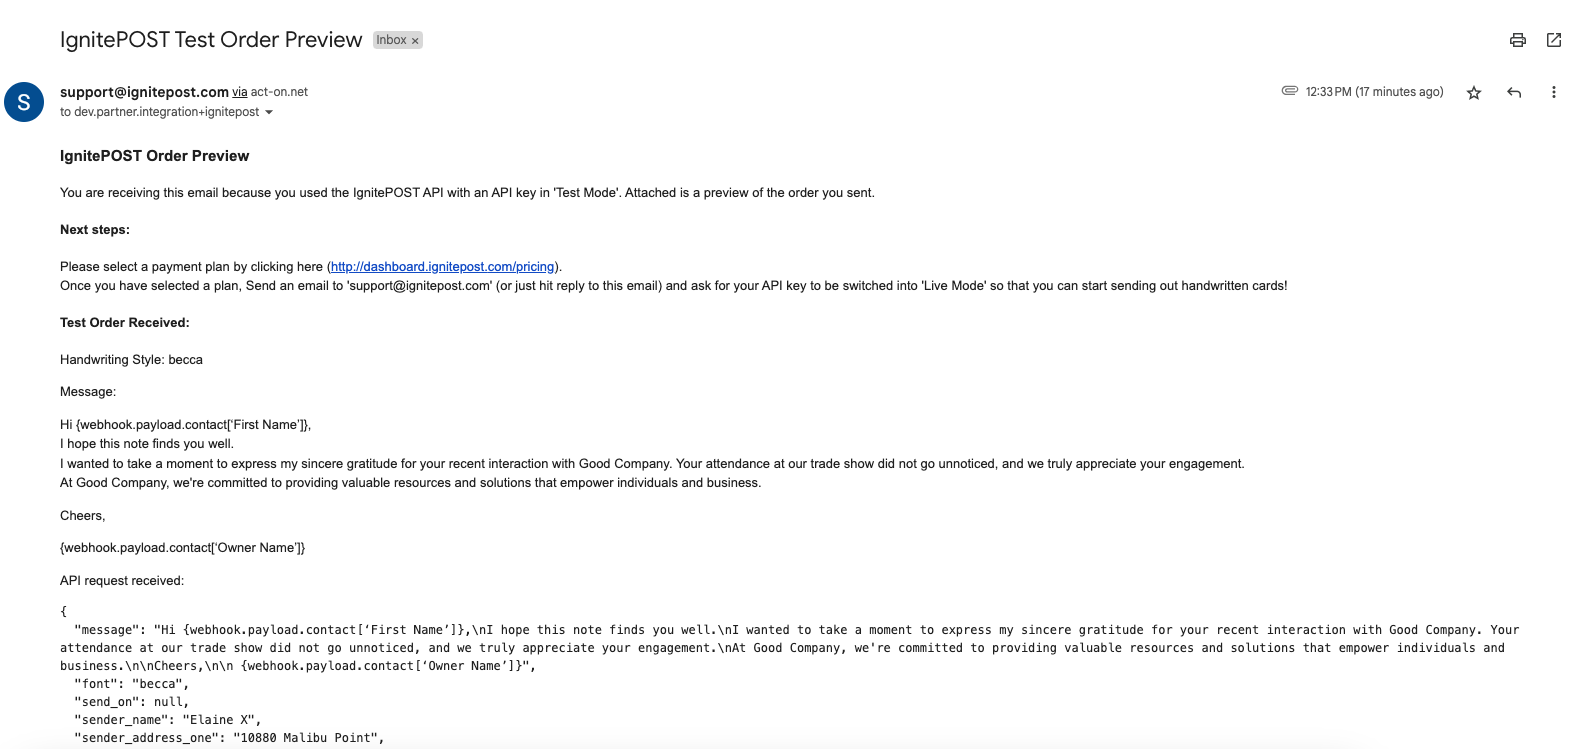
If API keys used for the test are only for testing purposes, retrieve a Production set from Ignite Support and use those in Act-On when creating a webhook.
Payload Example
function handler(webhook) {
  // modify the webhook object...
  const newObject = {
  "letter_template_id": 6247,
  "message":"Hi {webhook.payload.contact[‘First Name’]},\nI hope this note
 finds you well.\nI wanted to take a moment to express my sincere gratitude for
 your recent interaction with Good Company. Your attendance at our trade show
 did not go unnoticed, and we truly appreciate your engagement.\nAt Good
 Company, we're committed to providing valuable resources and solutions that
 empower individuals and business.\n\nCheers,\n\n
 {webhook.payload.contact[‘Owner Name’]}",
  "font": "becca",
  "image": "http://dashboard.ignitepost.com/rails/active_storage/blobs/eyJfcmFpb
HMiOnsibWVzc2FnZSI6IkJBaHBBa29DIiwiZXhwIjpudWxsLCJwdXIiOiJibG9iX2lkIn19--b3bcd77
08e28468cac0ccbc4fbc6df3742d0c73f/ACBJ__San_Francisco-horz-url.png",
  "recipient_name": webhook.payload.contact["First Name"],
  "recipient_email":  webhook.payload.contact["E-mail Address"],
  "recipient_company_name": webhook.payload.contact["Company"],
  "recipient_address_one": webhook.payload.contact["Business Street"],
  "recipient_city": webhook.payload.contact["Business City"],
  "recipient_state": webhook.payload.contact["Business State"],
  "recipient_zip": webhook.payload.contact["Business Postal Code"],
  "recipient_country": webhook.payload.contact["Business Country"],
  "sender_name": webhook.payload.contact["Owner Name"],
  "sender_address_one": "10880 Malibu Point",
  "sender_state": "CA",
  "sender_zip": "54321",
  "sender_country": "US",
  "send_on": null
};
  webhook.payload = newObject;
  return webhook;
}
Create and Run an Automated Program in Act-On
- When signed in to Act-On, go to Automation > Automated Programs.
- At the top right of the Automated Programs listing page, click + New program.
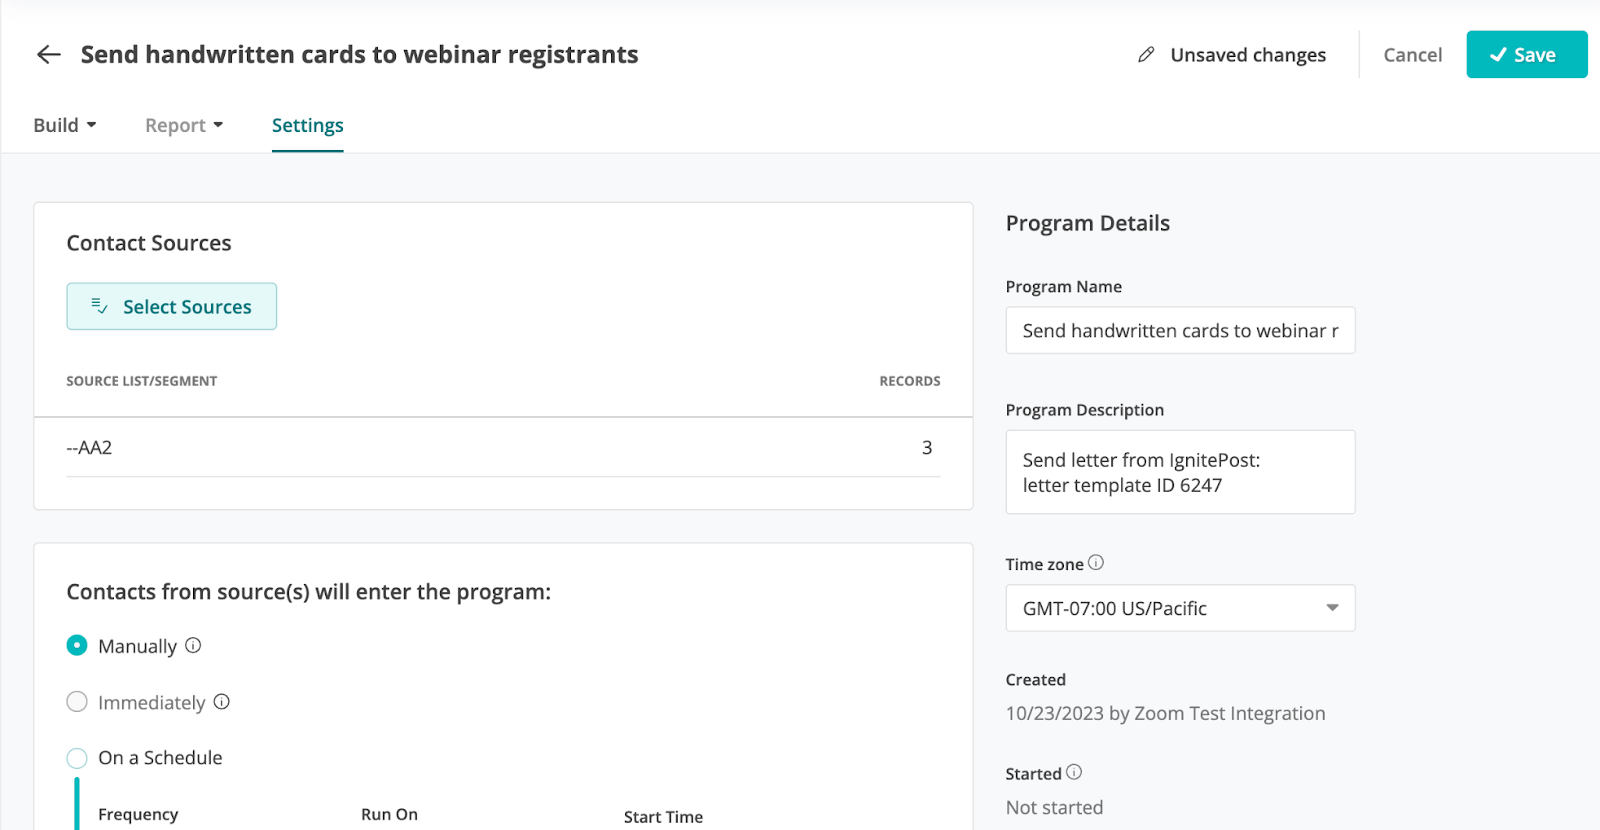
- In the Settings tab, choose your desired source list. This will be the segment that includes all the contacts that will be nurtured with a direct mail package as they enter the program.
In this example, the segment is based on contacts that have expressed interest in attending a webinar:
- When building your Automated Program in Build > Program flow add a step: Outgoing Webhooks:

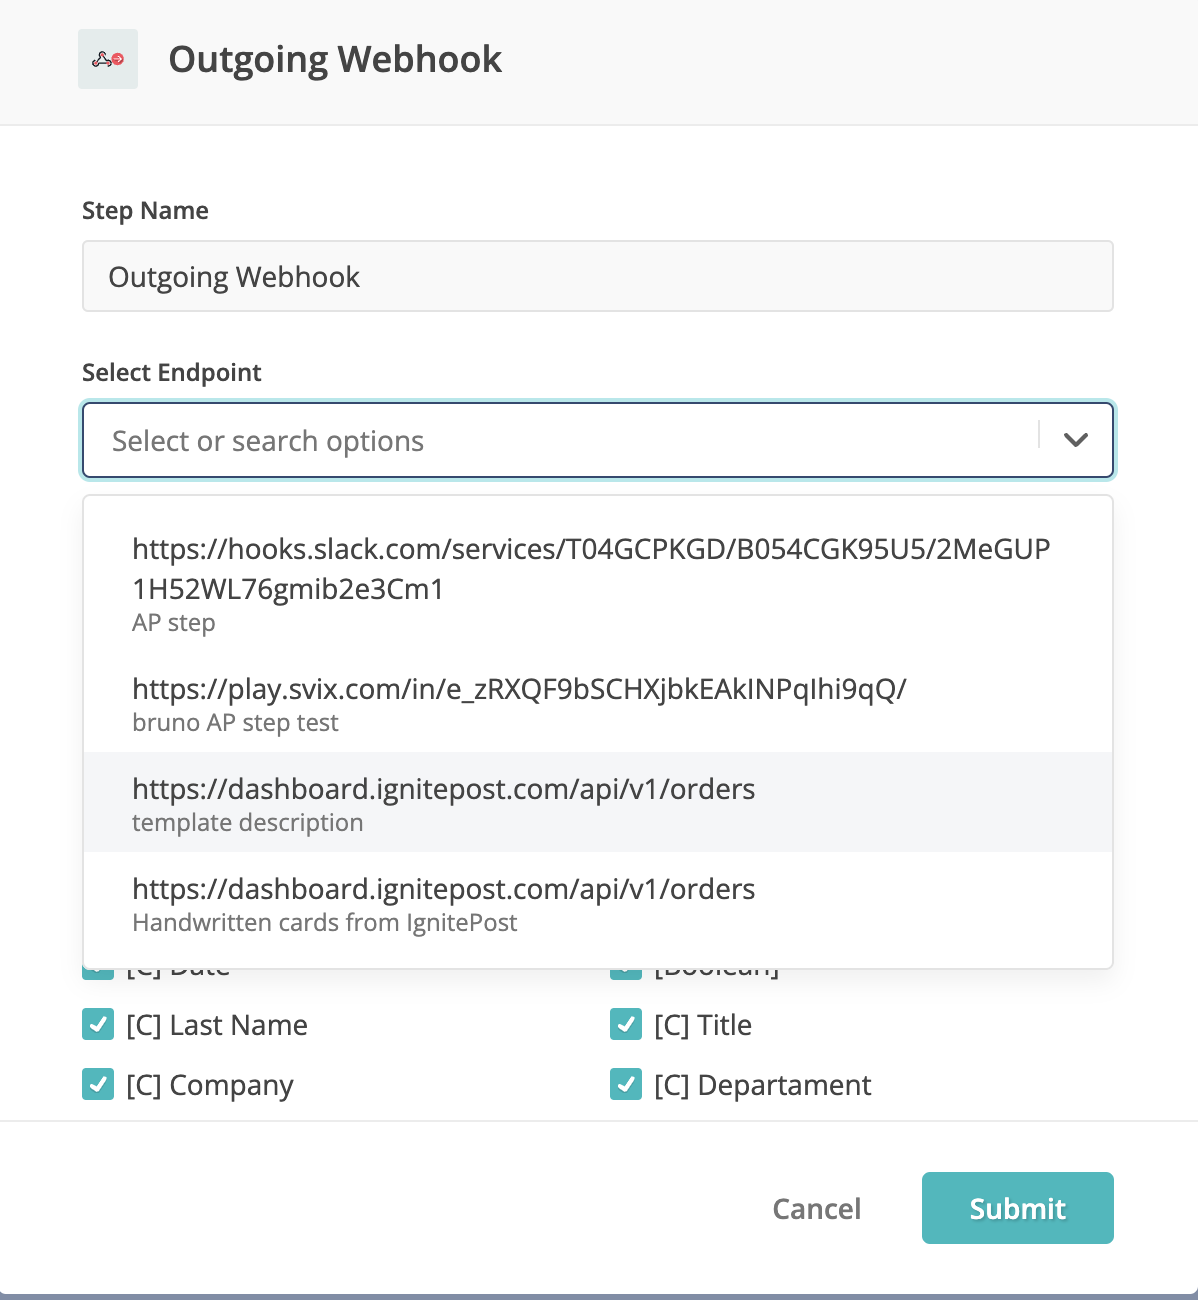
- Select the URL of the webhook created earlier. Look at the Description of the endpoint URL to ensure you are selecting the correct one:
- Choose all the contact fields you wish to include in the webhook payload. These are the fields mapped in the transformation area of the webhook:
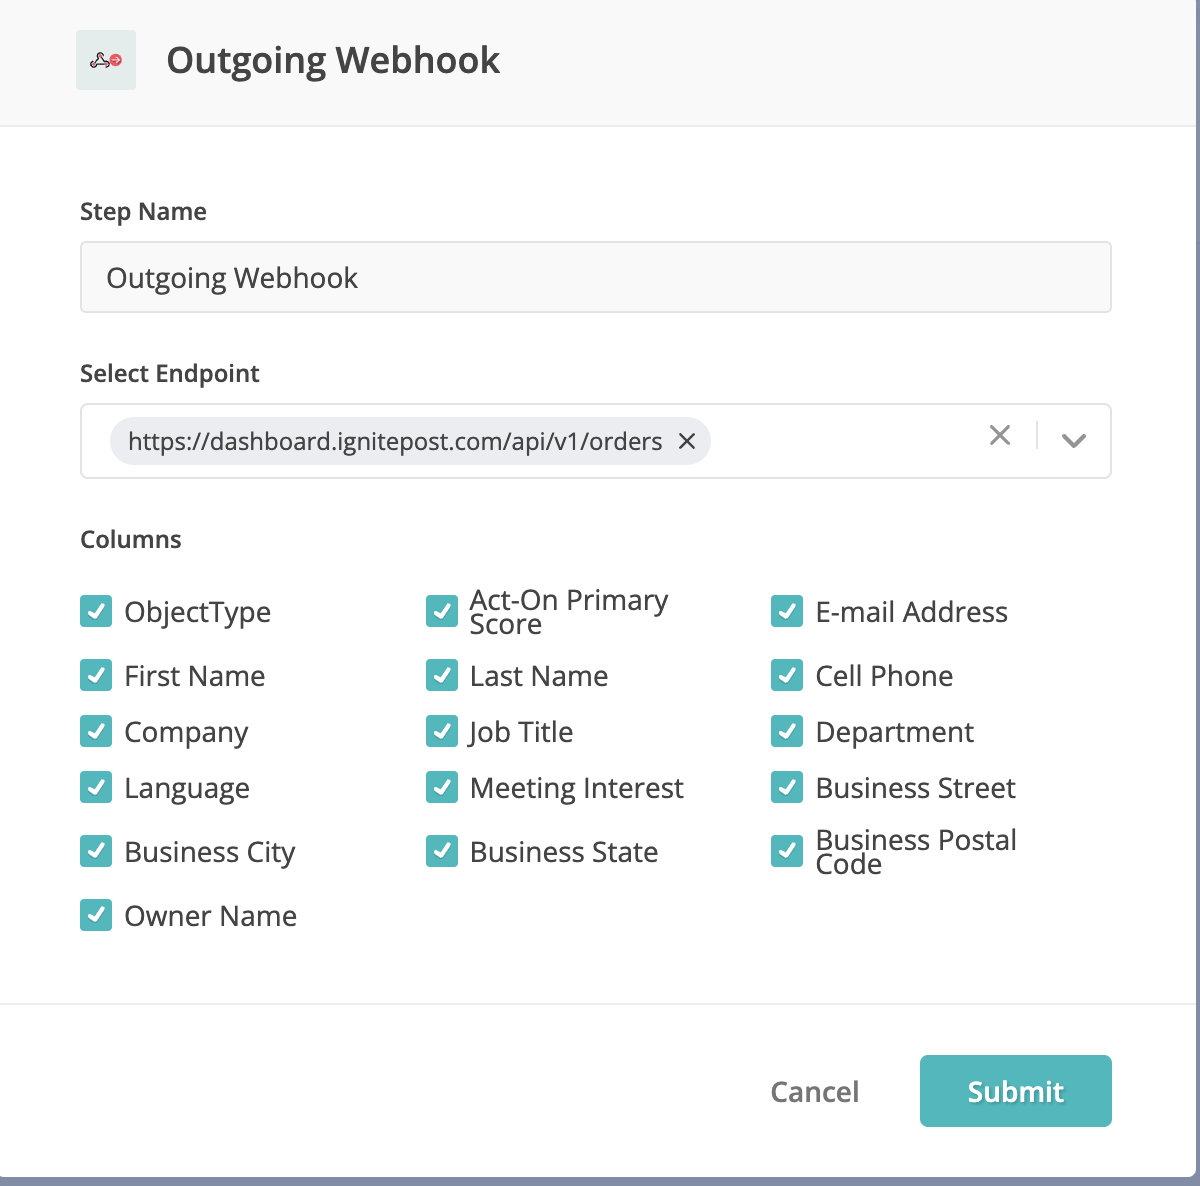
- Click Submit.
- Complete your Automated Program flow and click Save.
- Start the Automated Program.
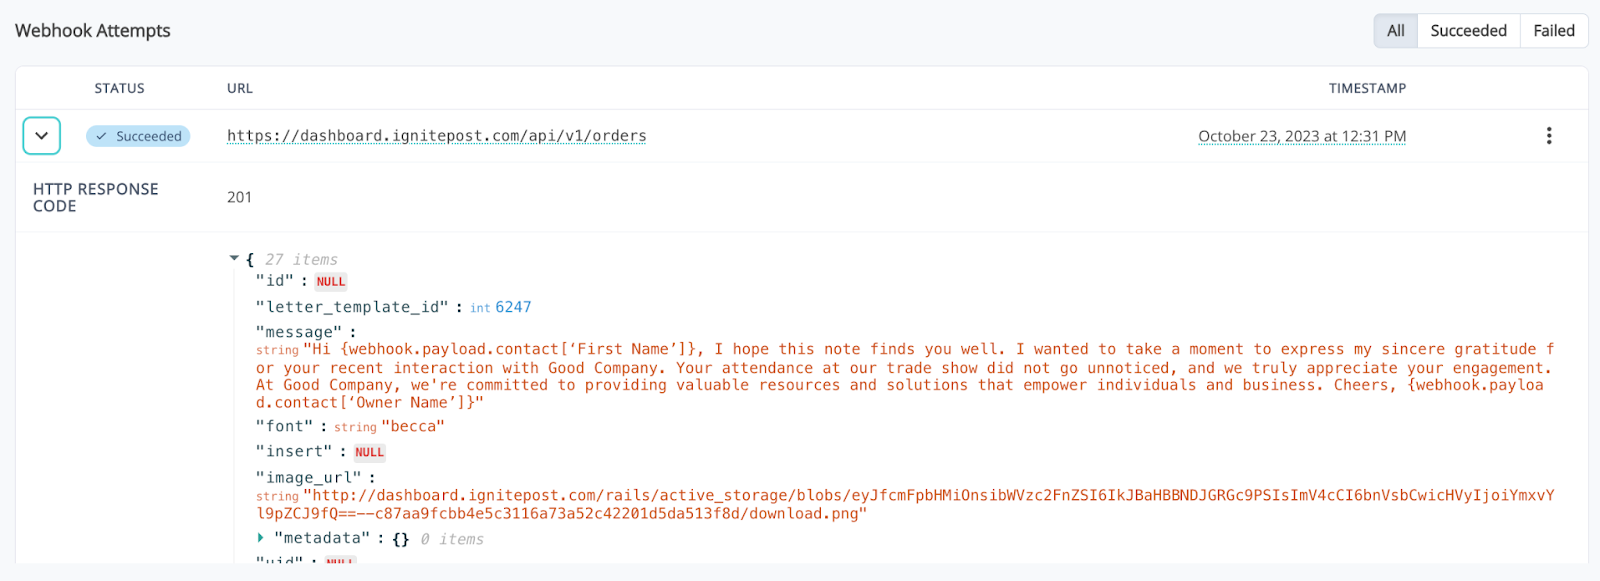
A successful program will trigger a webhook that has a 200 response code. To validate this, go to Settings > Connectors > Outgoing Webhooks and view the logs for the endpoint called by the Automated Program, for example: