Boost engagement and conversions by sending an offline gift to a prospect or customer, creating top-of-mind awareness, and nudging a prospect or customer to take a desired action, such as placing an order or renewing a subscription.
You can do this using an Act-On outgoing webhook in an Automated Program that triggers an action in Zapier to send an item with Postal.io, passing along the relevant name and address information. To do this, carry out the following steps in order.
In Postal.io
Create a Postal.io Trigger
This is required for the Zap (trigger) in Zapier.
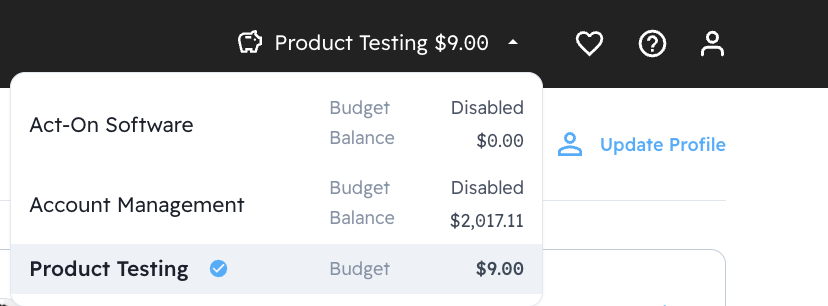
- Sign in to Postal.io and select the account to be used for the order which will be triggered by Zapier:
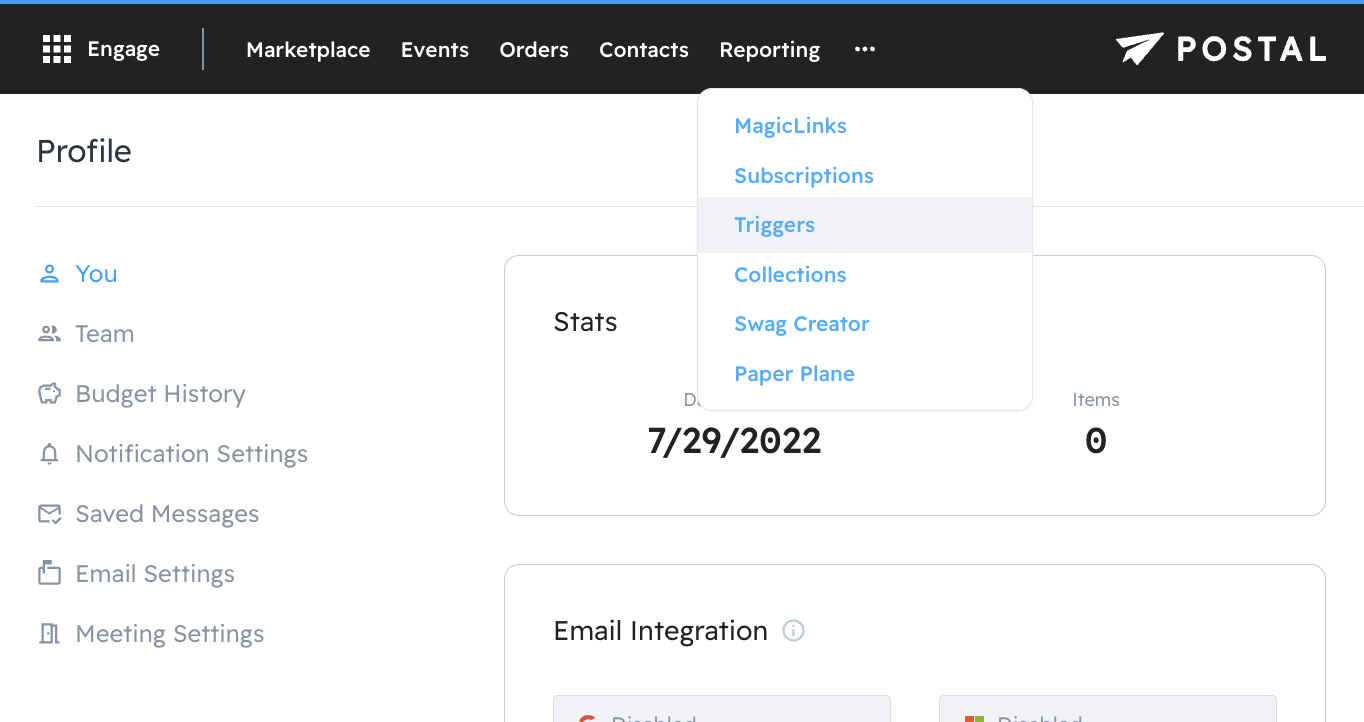
- Navigate to Triggers from the main menu:
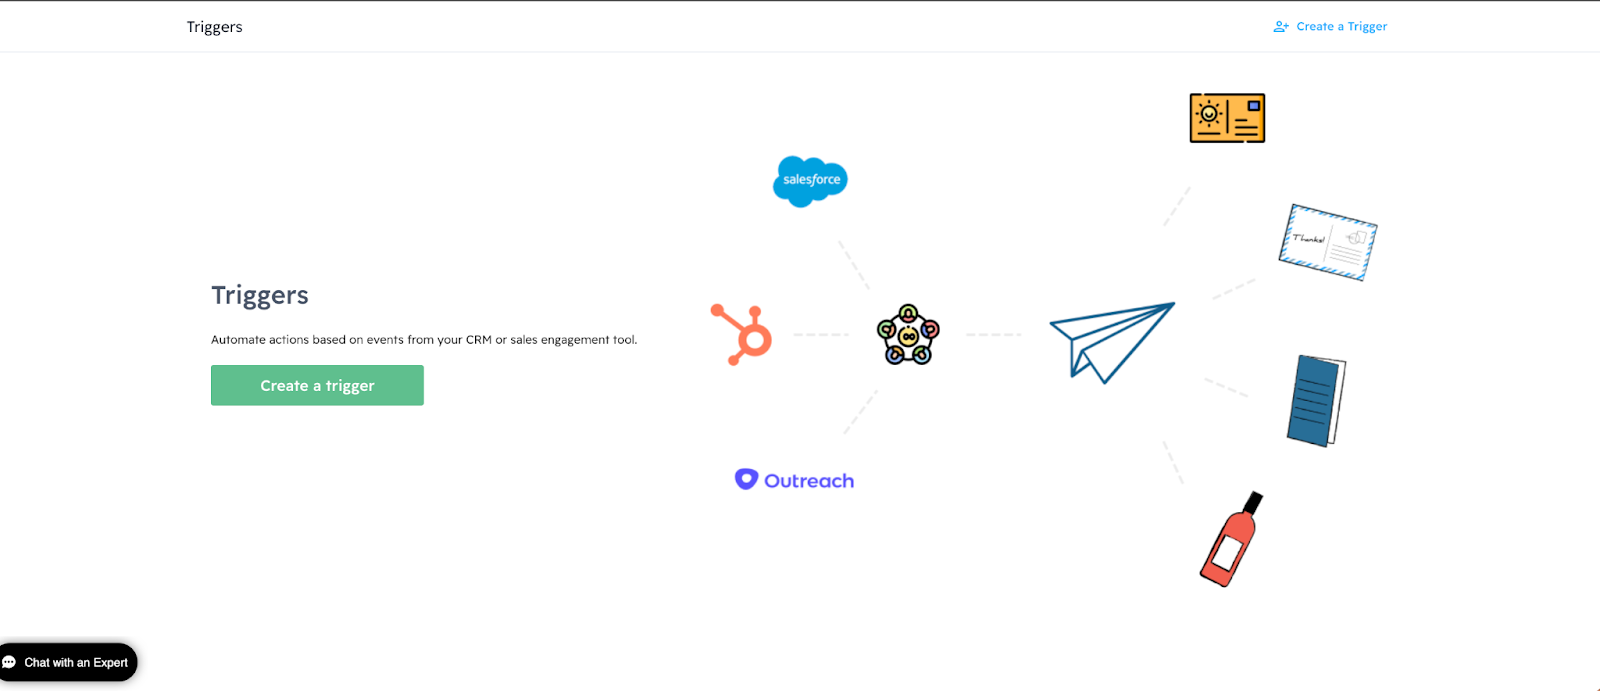
- Click Create a Trigger.
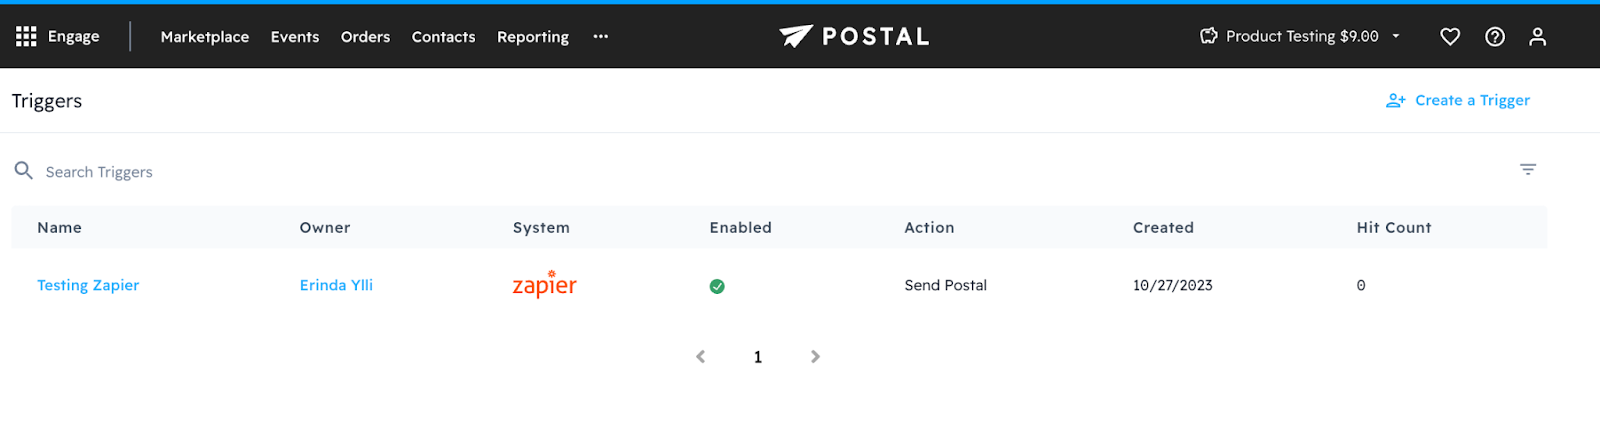
- If existing triggers exist, you’ll see a list:
- Otherwise, you will see this screen:
- If existing triggers exist, you’ll see a list:
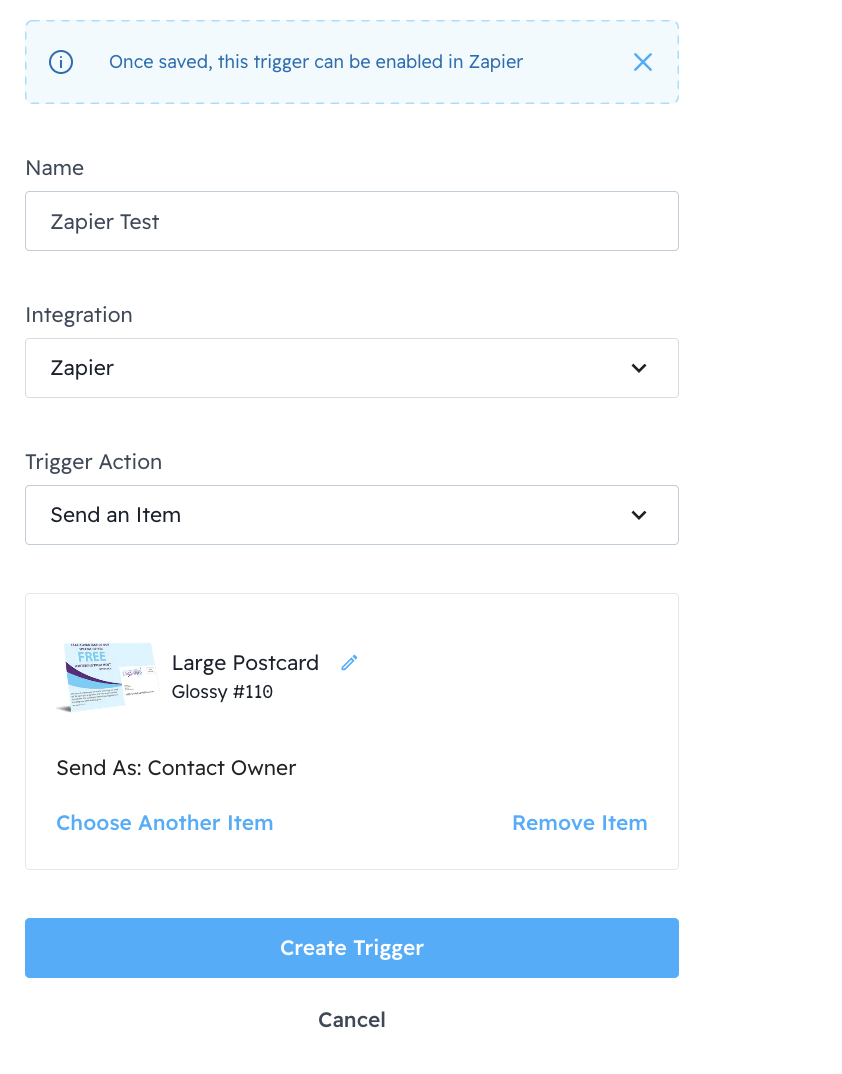
- Add a Name and choose “Zapier” from the Integration drop-down menu:
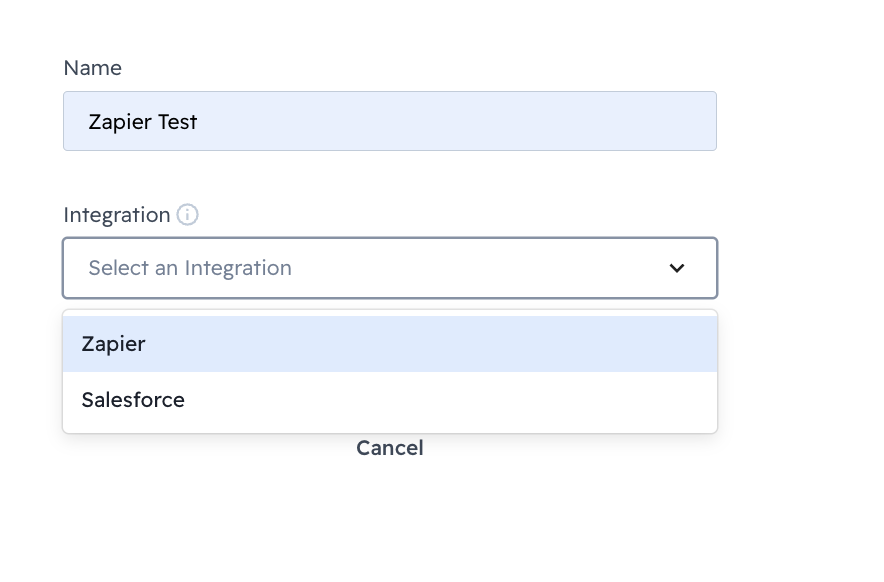
- Choose the Trigger Action type “Send an Item”. This is required in Zapier:
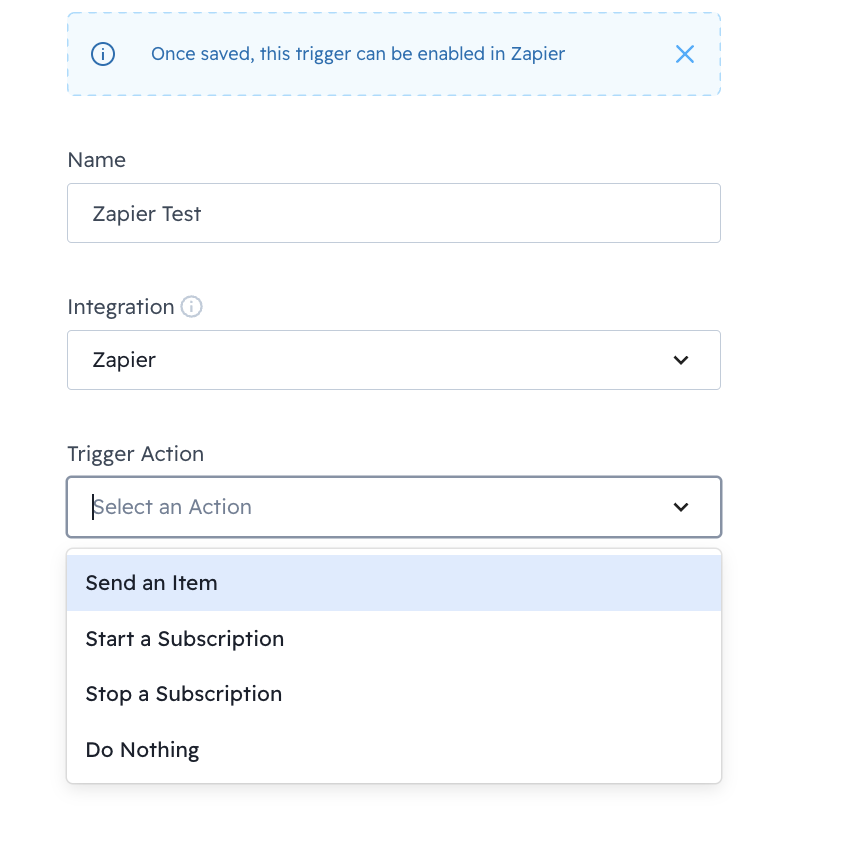
- Click Create Trigger.
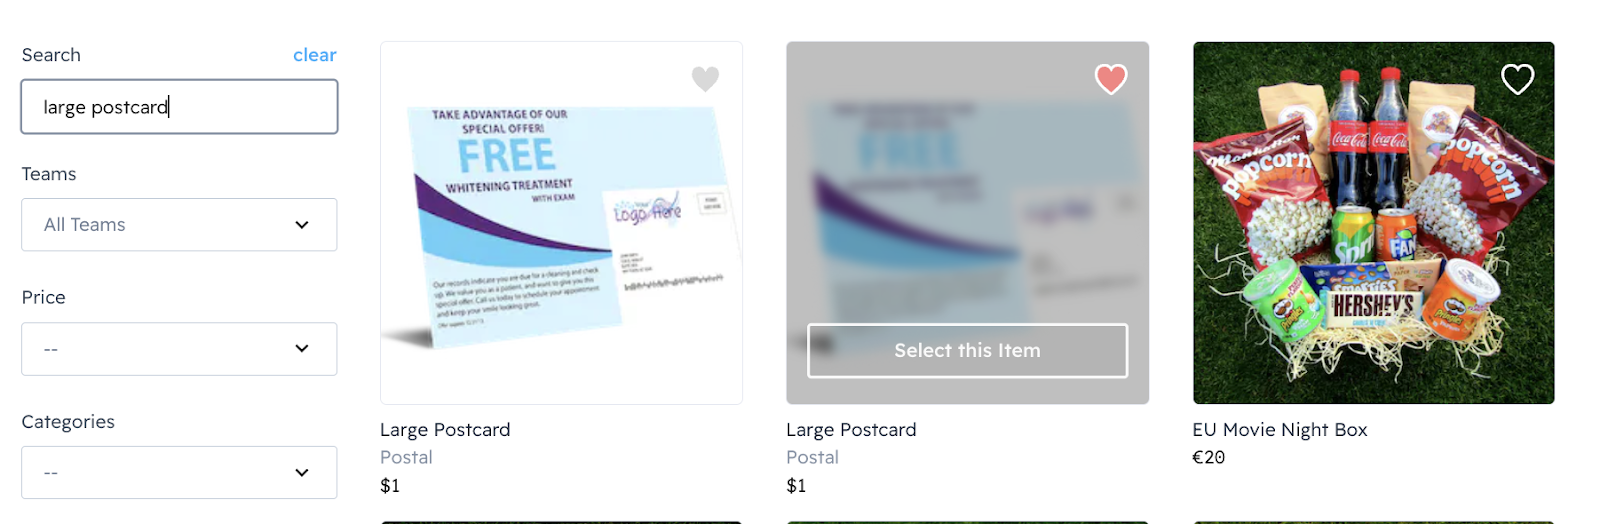
- Add Item(s) to be added to the order. For example, search for an item with the name “large postcard” and click Select. Use an item that is of low value to test with:
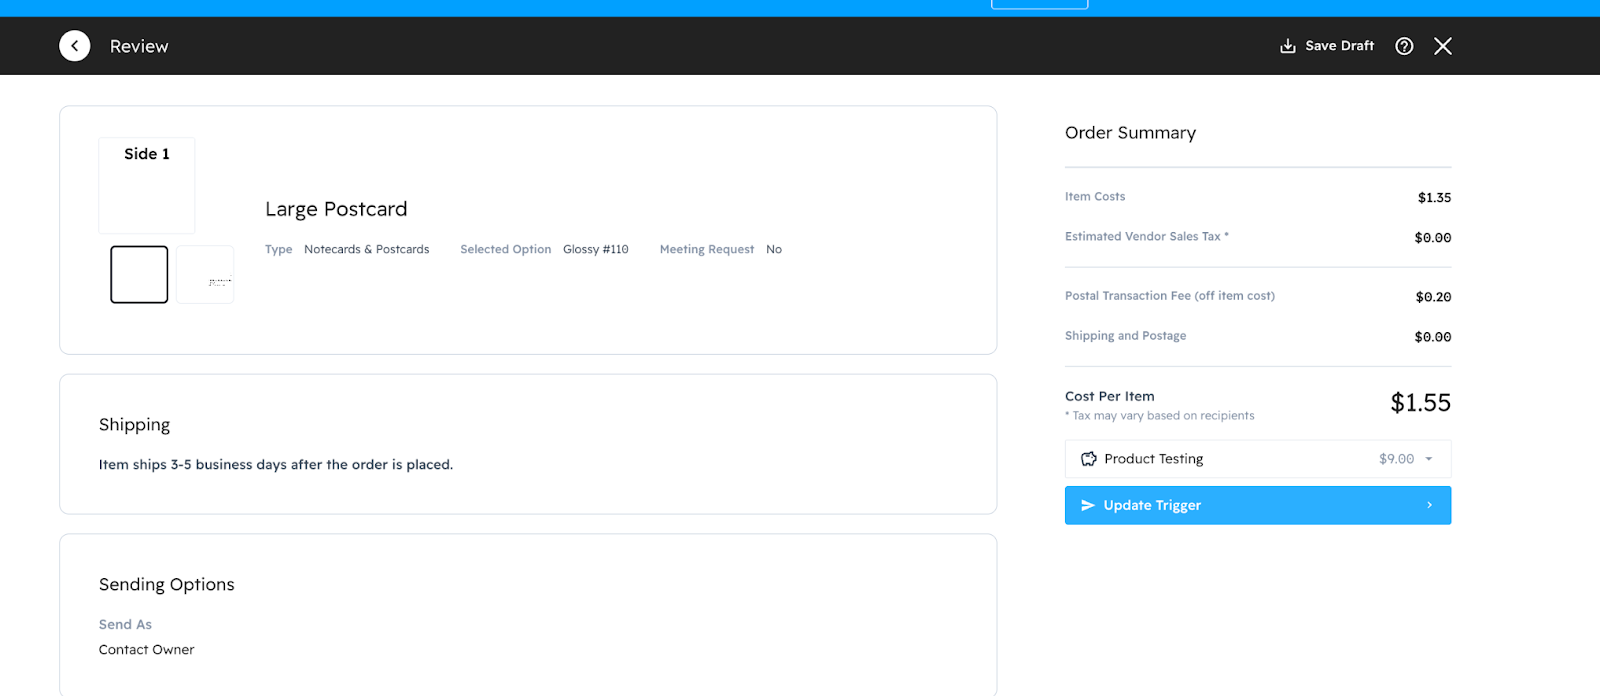
- Click Review:
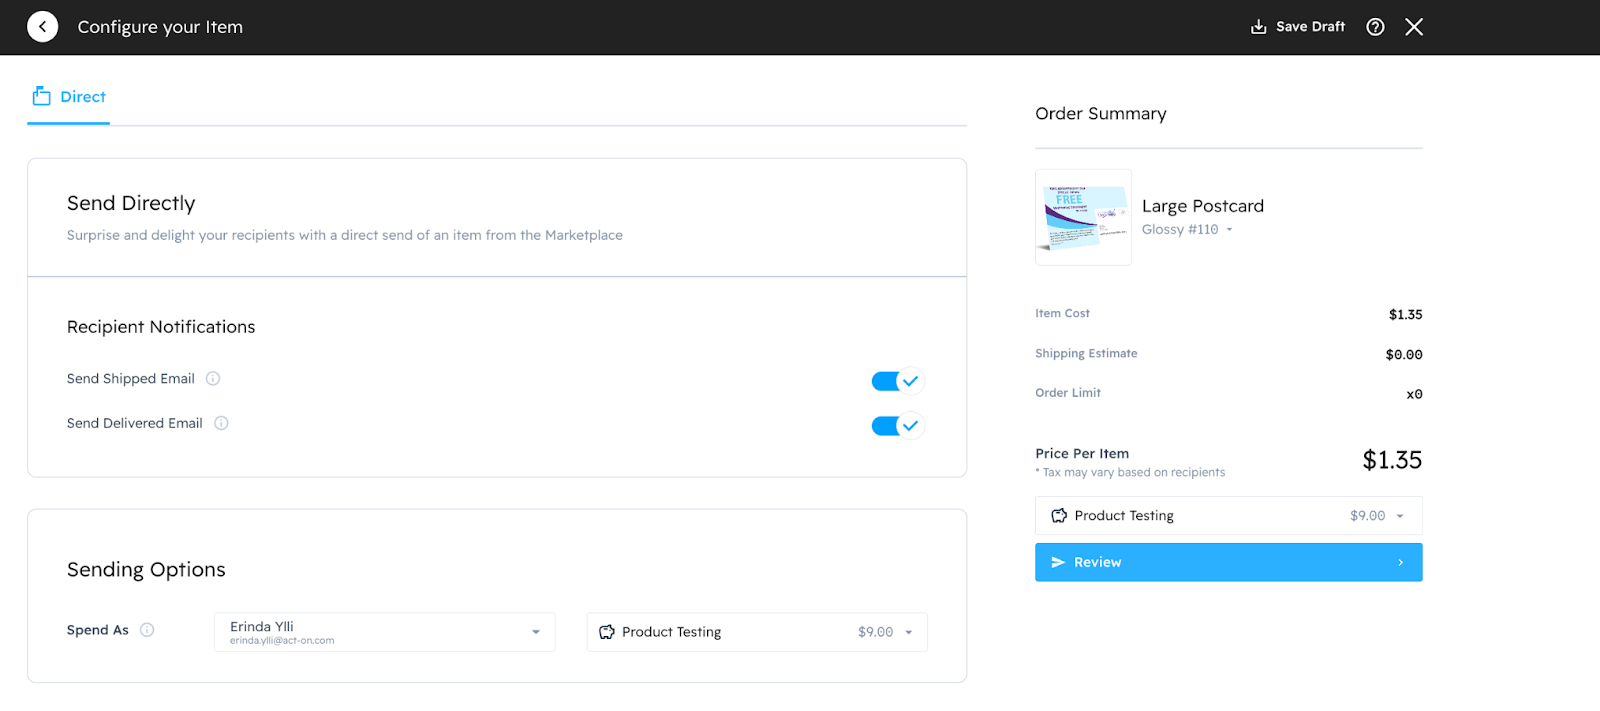
- Click Update Trigger:
- Finalize by clicking Create Trigger:
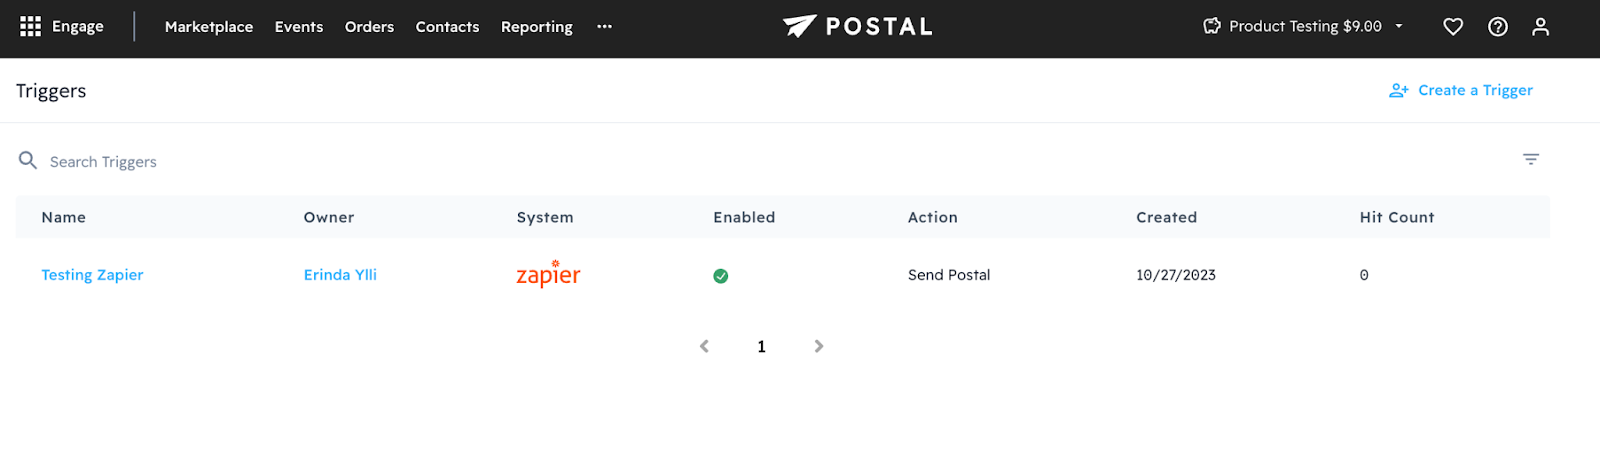
- The created trigger is listed in the dashboard:
Act-On & Zapier
Prerequisite: Your Contact records must include mailing address fields that are populated, as these are required for the integration to work. This feature is only compatible with All Contacts.
Create an Automated Program in Act-On
- When signed in to Act-On, go to Automation > Automated Programs.
- Create an Automated Program. When selecting Contact Sources, choose a segment with just one contact (that has mailing address fields complete) to limit the cost when testing.
- Name the Automated Program, for example, "Send direct mail from Postal" and save the program as a draft for now (we'll be coming back to this later) and move to the next steps.
Create a Zap (Trigger) in Zapier
- Sign in to Zapier, and on the left, click Create a Zap.
- Select the Trigger section:

- Search for “Act-On” in the App field:

- Select the New Automated Program External Call trigger:

- Connect the Act-On account that you used to create the Automated Program above.
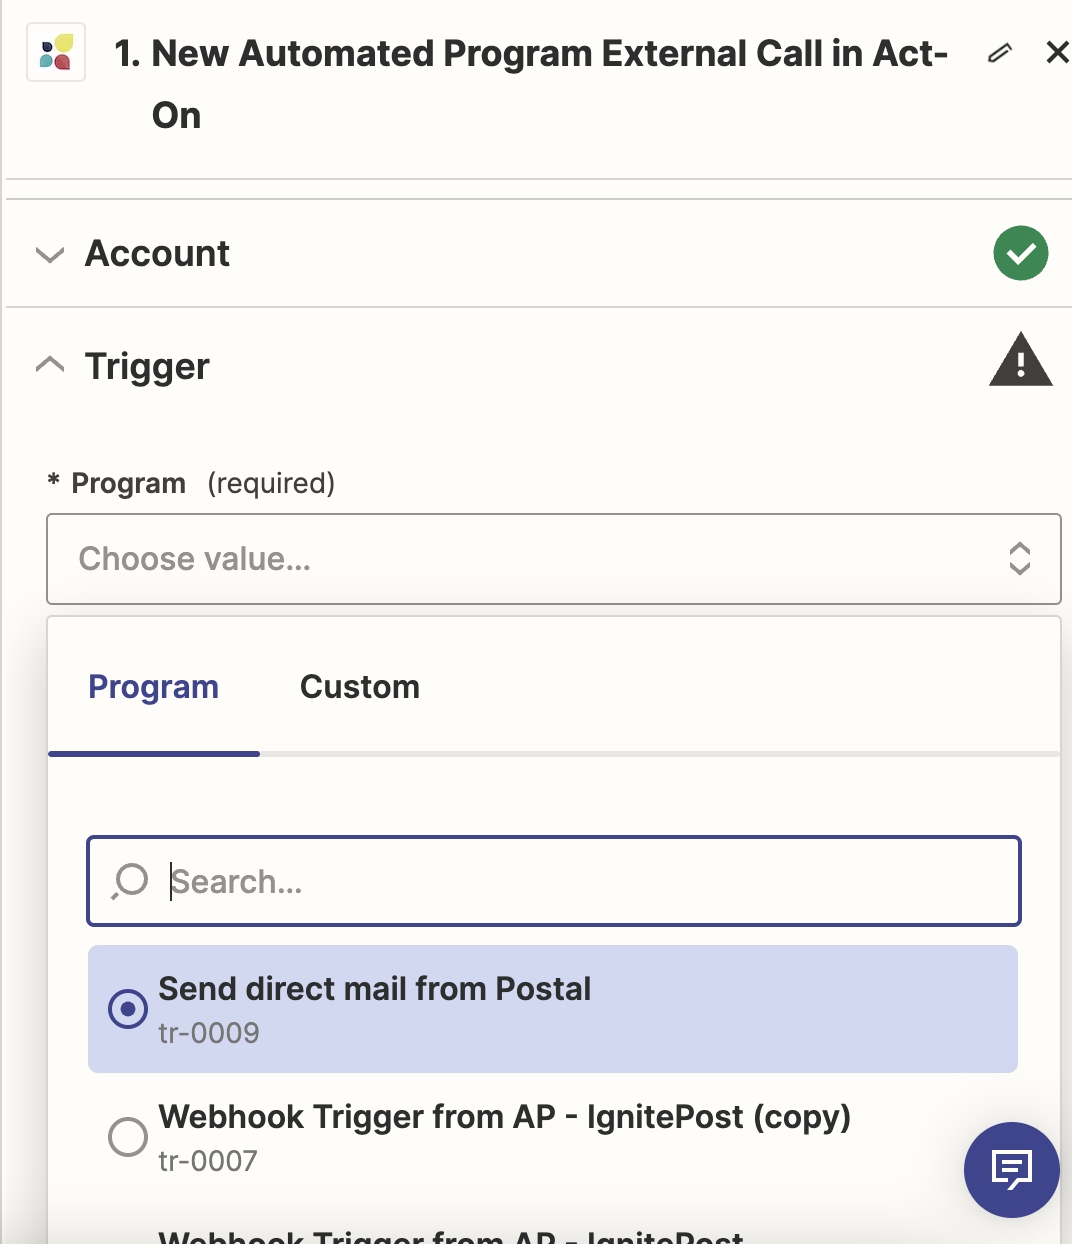
- Choose the Automated program, for example:
- Click Continue.
- Copy and store the URL (you will need this to set up the webhook in Act-On):

- If you are comfortable mapping the trigger payload using personalized tokens (rather than using the mapping feature in Zapier), continue to the next step here to test the trigger.
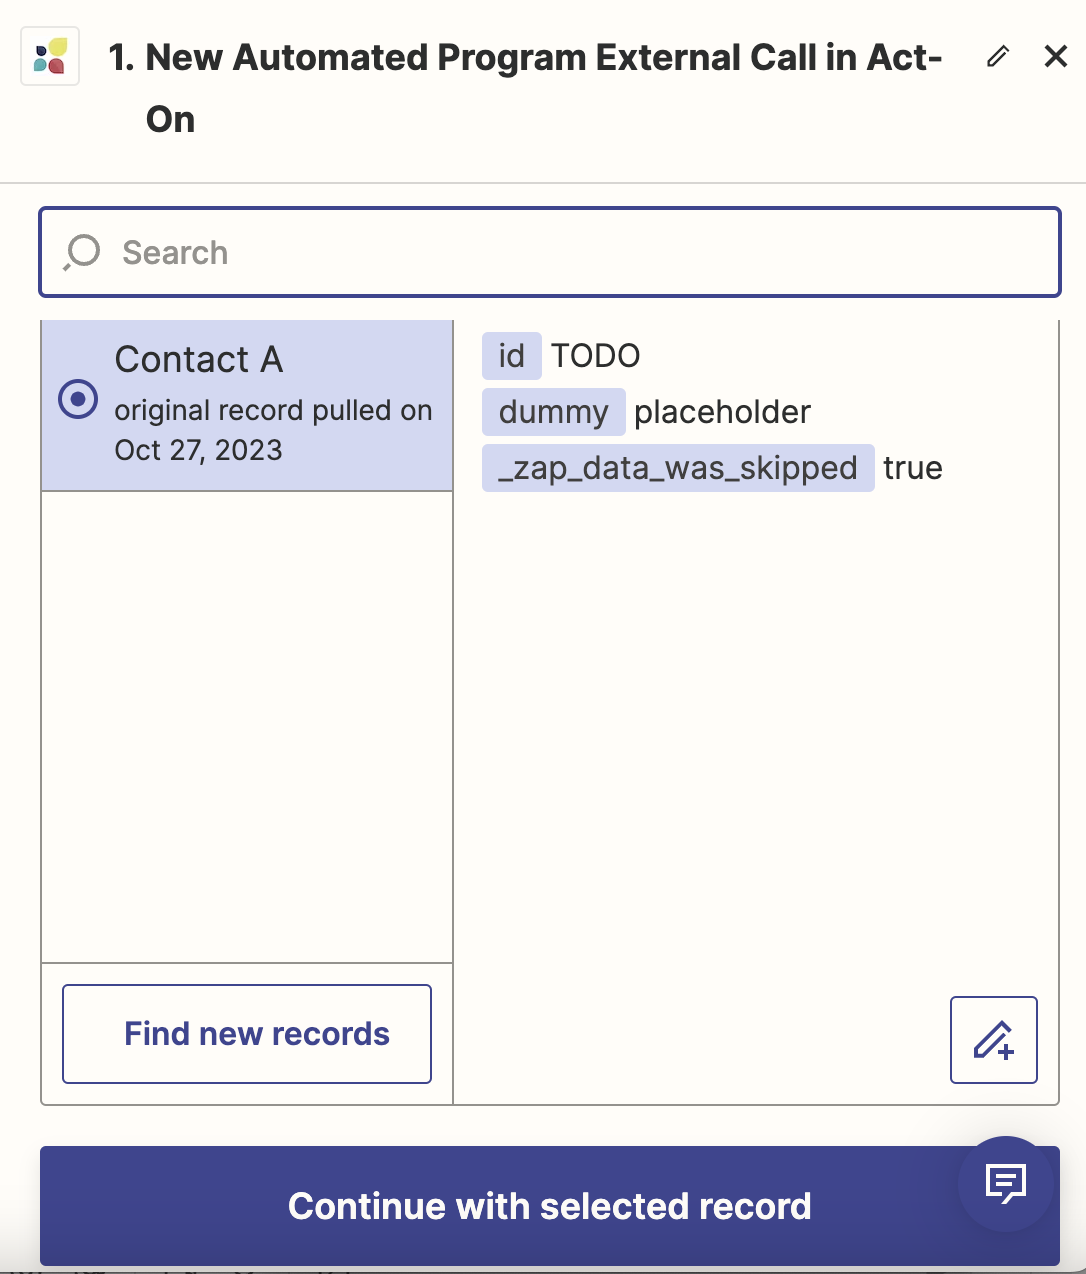
Otherwise, skip to Create a Webhook in Act-On below. - Click Test trigger.
- Click Continue with selected record:
Create a Webhook in Act-On
- Go to Settings > Connectors > Custom Integrations > Outgoing Webhooks.
- In the Endpoints tab, at the top right, click + Add Endpoint.
- In the Custom URL tab:
- In the Endpoint URL box, enter the URL you stored when you created a Zap above.
- Description: Optional but recommended to add a description that is relevant to the use case.
For example, "Send Large Postcard to engaged prospects (AJB program: x)" - In Message Filtering, select automated-program-step.executed
- At the bottom, click Create.
- Run a test to validate that the webhook has been set up correctly.
Add the Webhook to the Automated Program & Test
- Go to Automation > Automated Programs and open the Automated Program created above.
- In Build > Program flow, click
(Add new step).
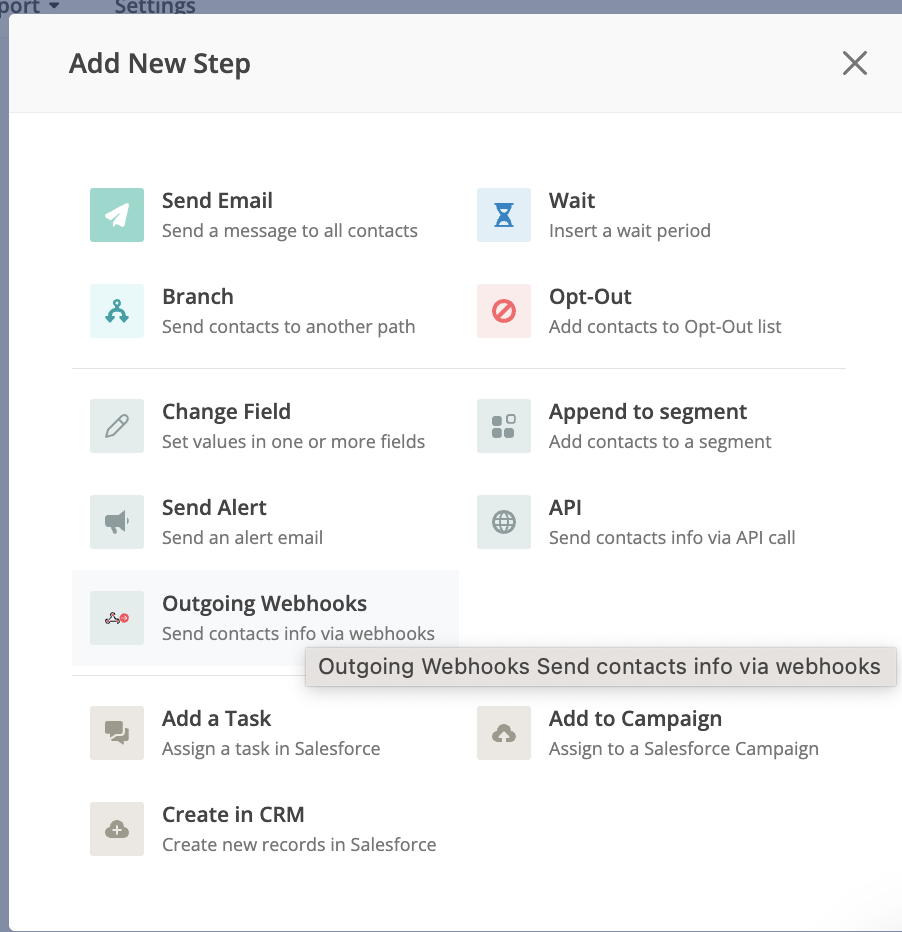
- Select Outgoing Webhooks:
- Name the step, and from the Select Endpoint dropdown, select the endpoint URL of the webhook created above:
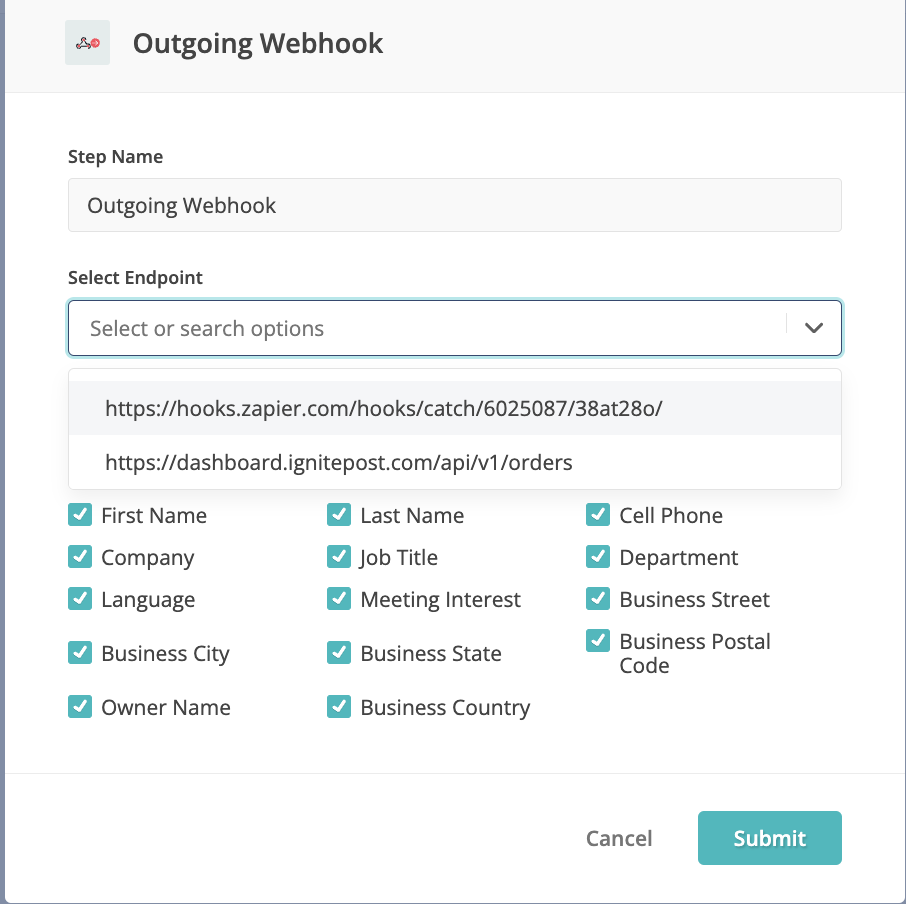
- Use the checkboxes to include the fields required by Postal. You can include more than Postal requires, but you must include the contact and address fields that Postal needs to mail to.
- Contact info:
First Name is required
Last Name is recommended - Include appropriate address fields, such as Address line 1, line 2, city, state, postal code, and country.
- Contact info:
- Click Submit to save the step in the Automated Program.
- Complete your Automated Program flow and click Save.
- Test run the Automated Program. This should send data to Zapier that can be used.
Add a Zapier Action
- In Zapier, go to the Zap you created earlier and select the Action section.
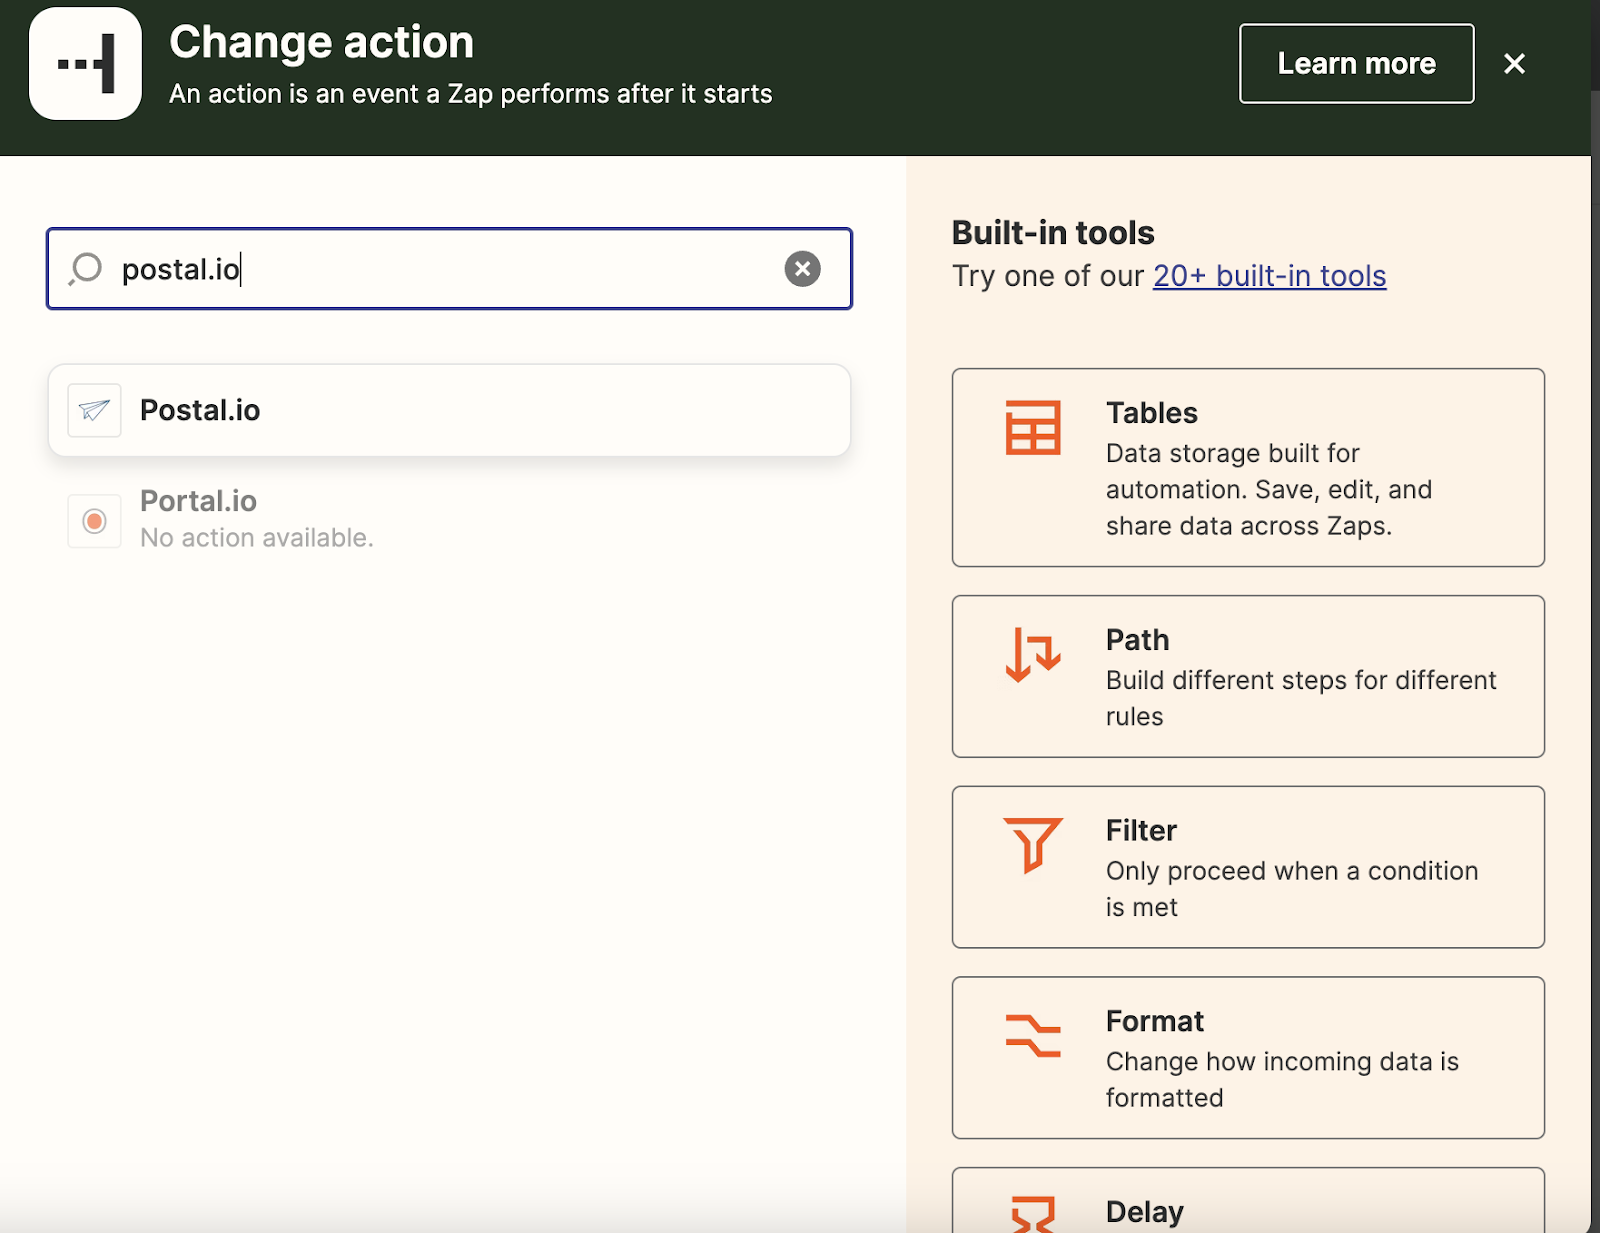
- Search for “postal.io” and click the app:
- In Event, select Send an Item:
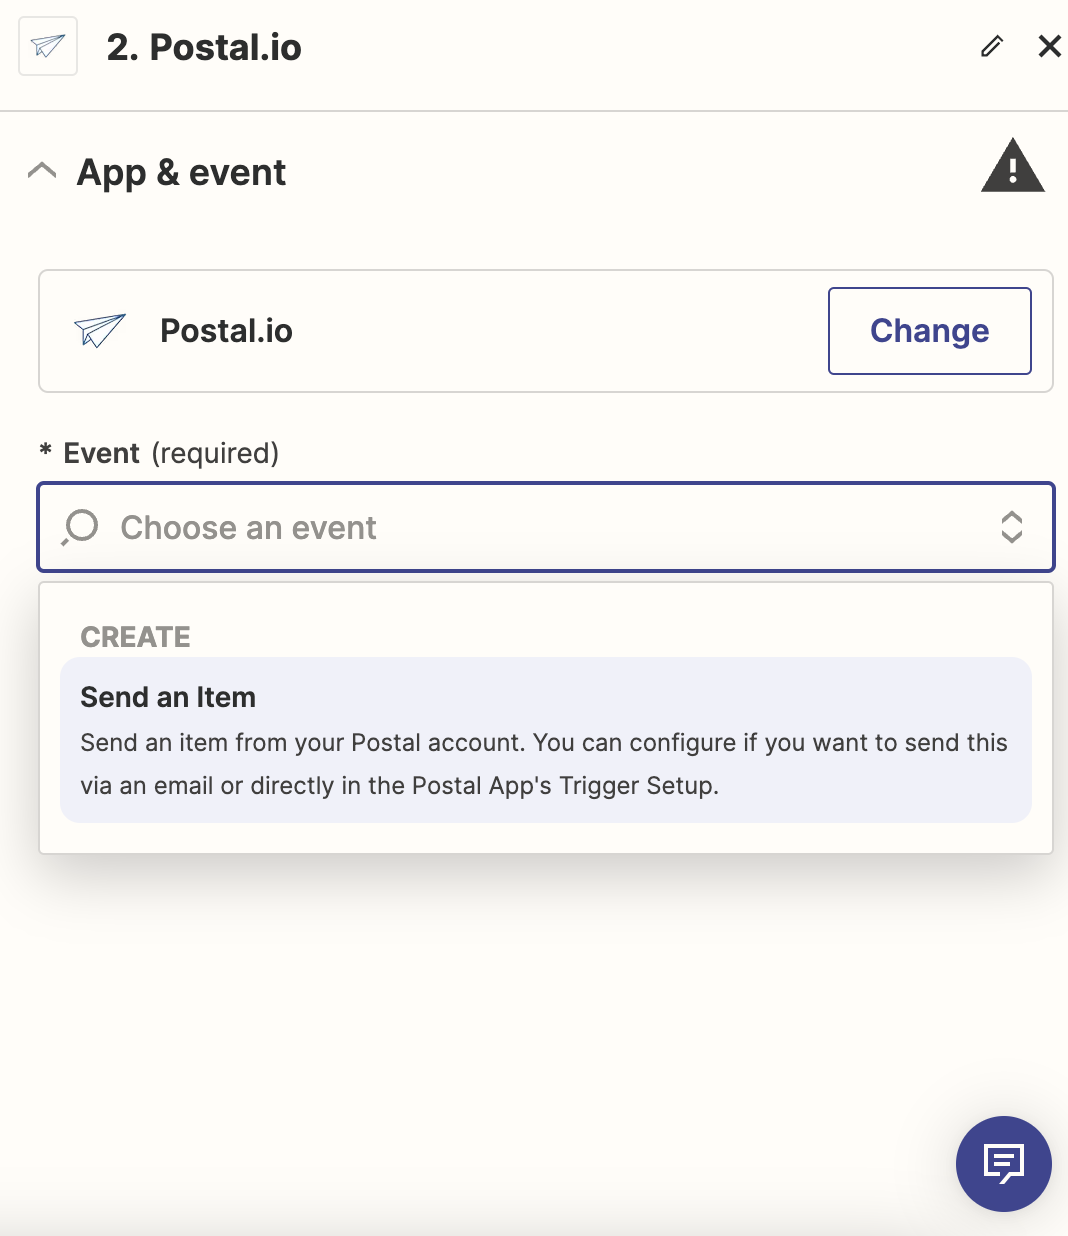
- Click Continue.
-
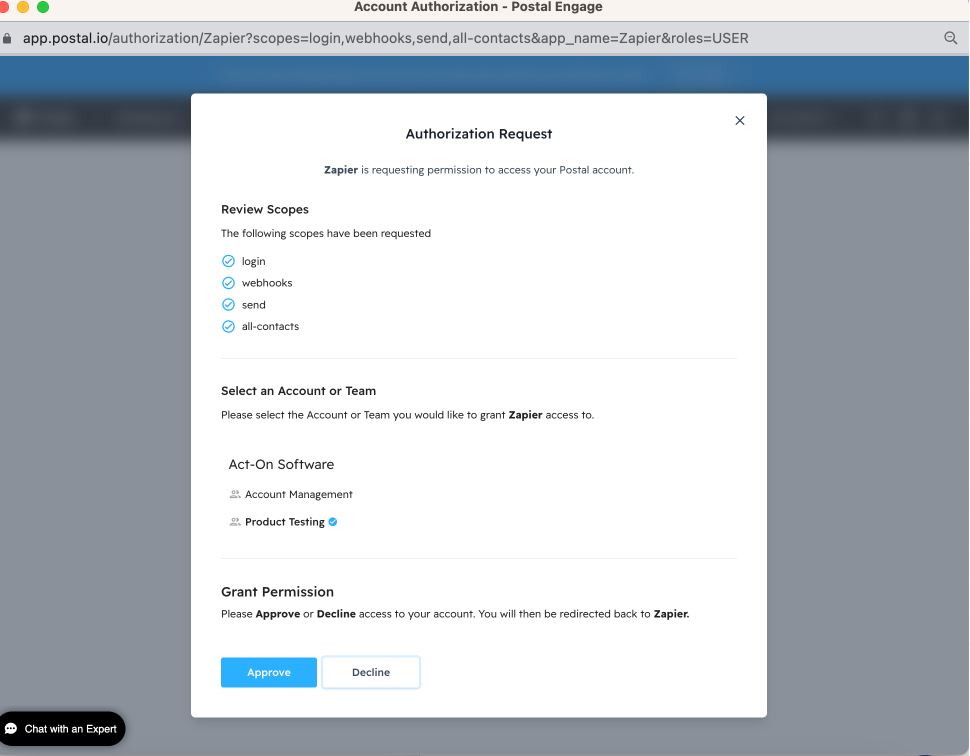
Sign in to authenticate.
- Use the same Postal.io sign-in as used earlier.
- Click Approve:
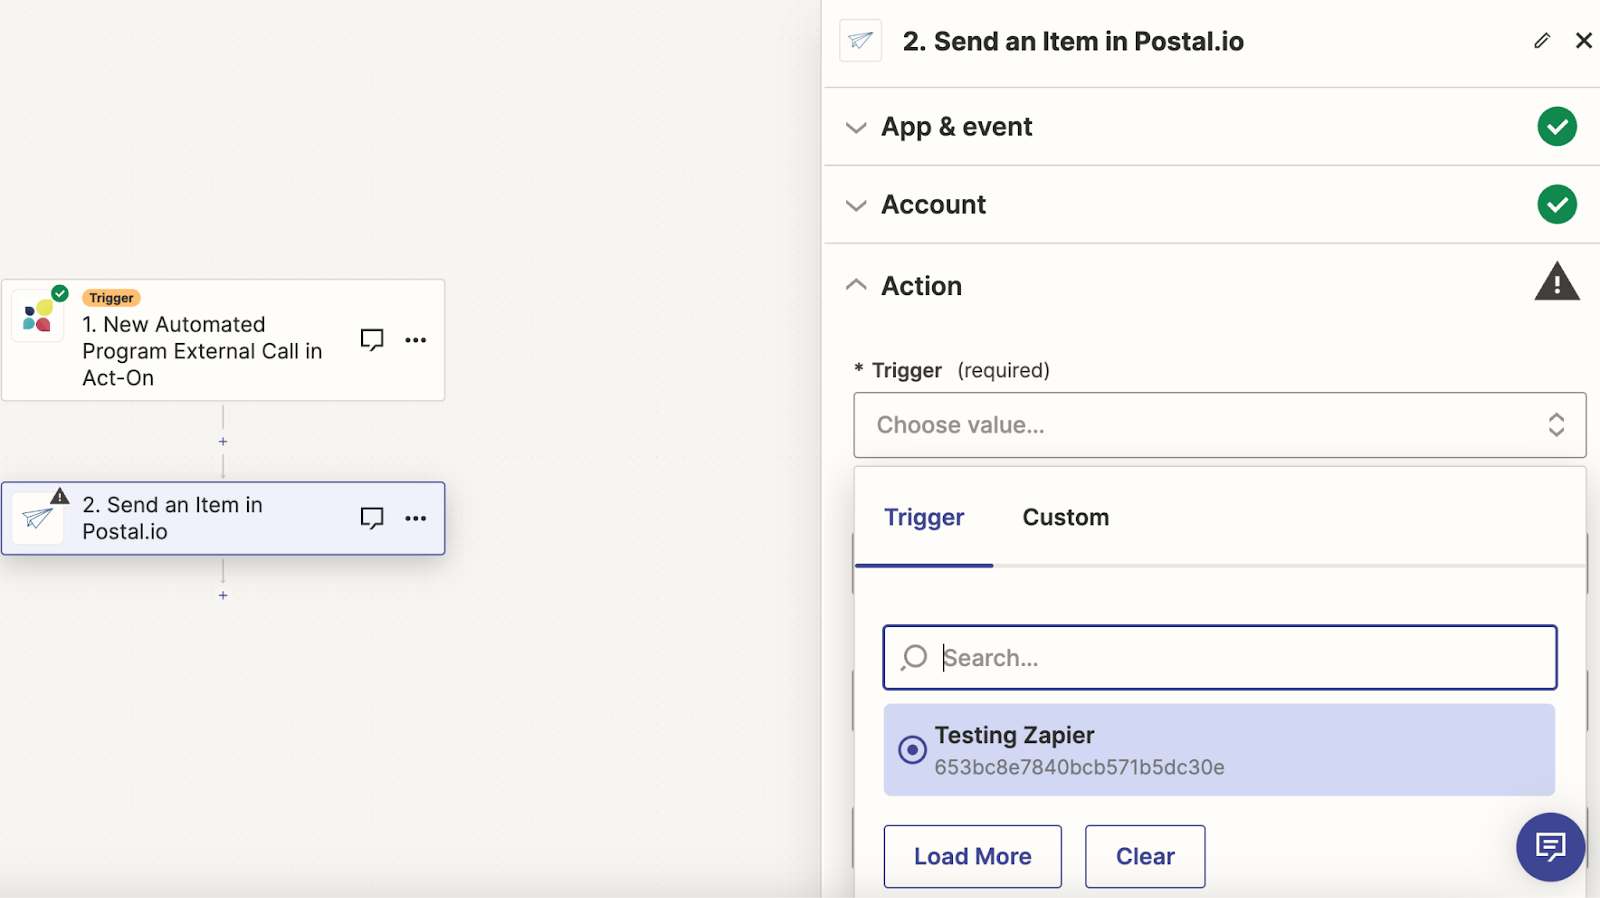
- From the Trigger drop-down, choose Postal trigger and select the trigger you created earlier:
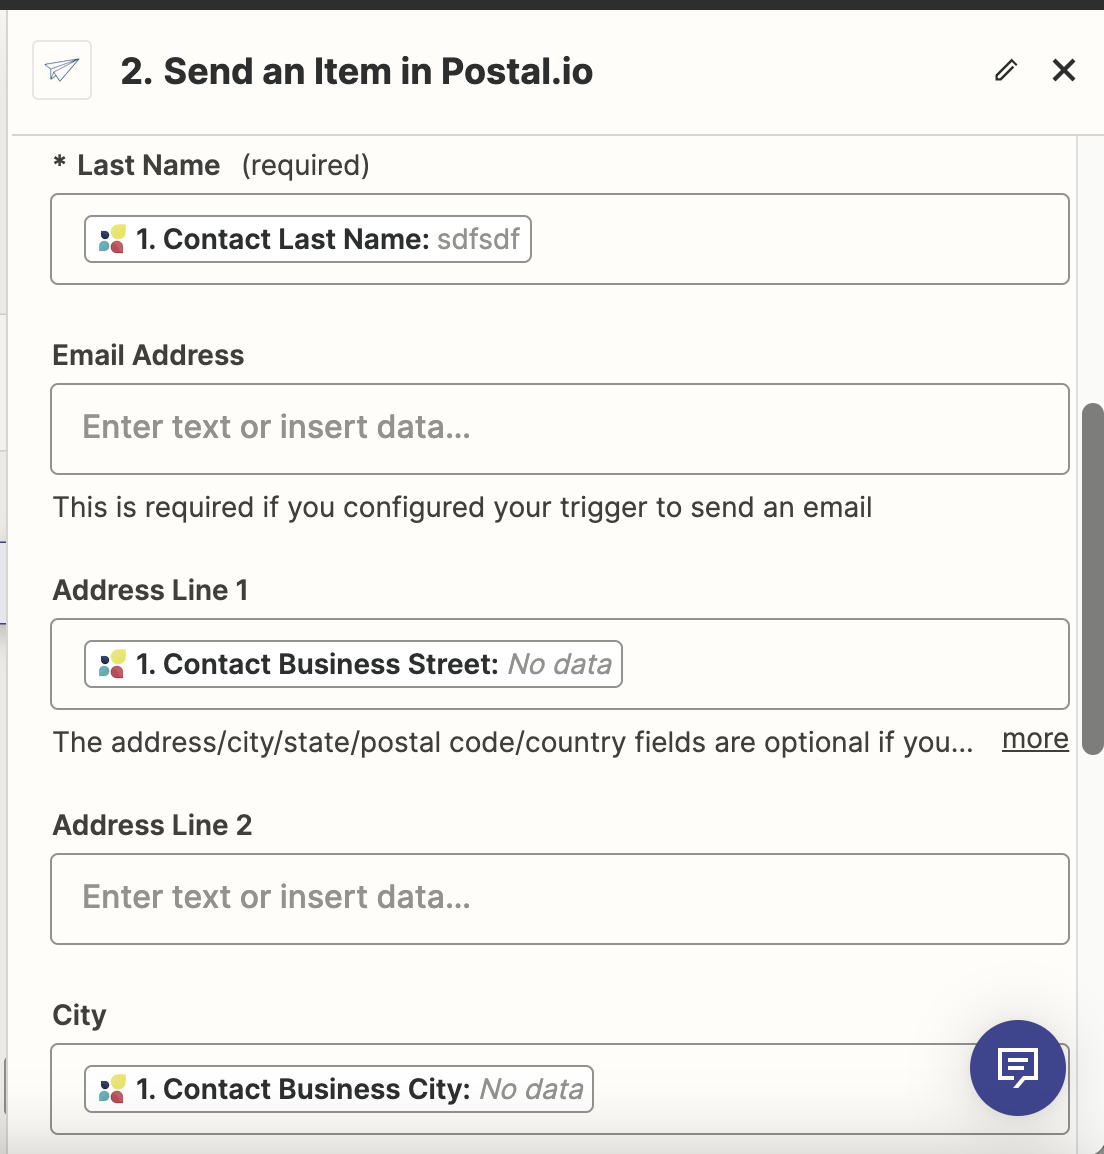
- Map the desired fields: name, address, etc.:
- Test the Action:
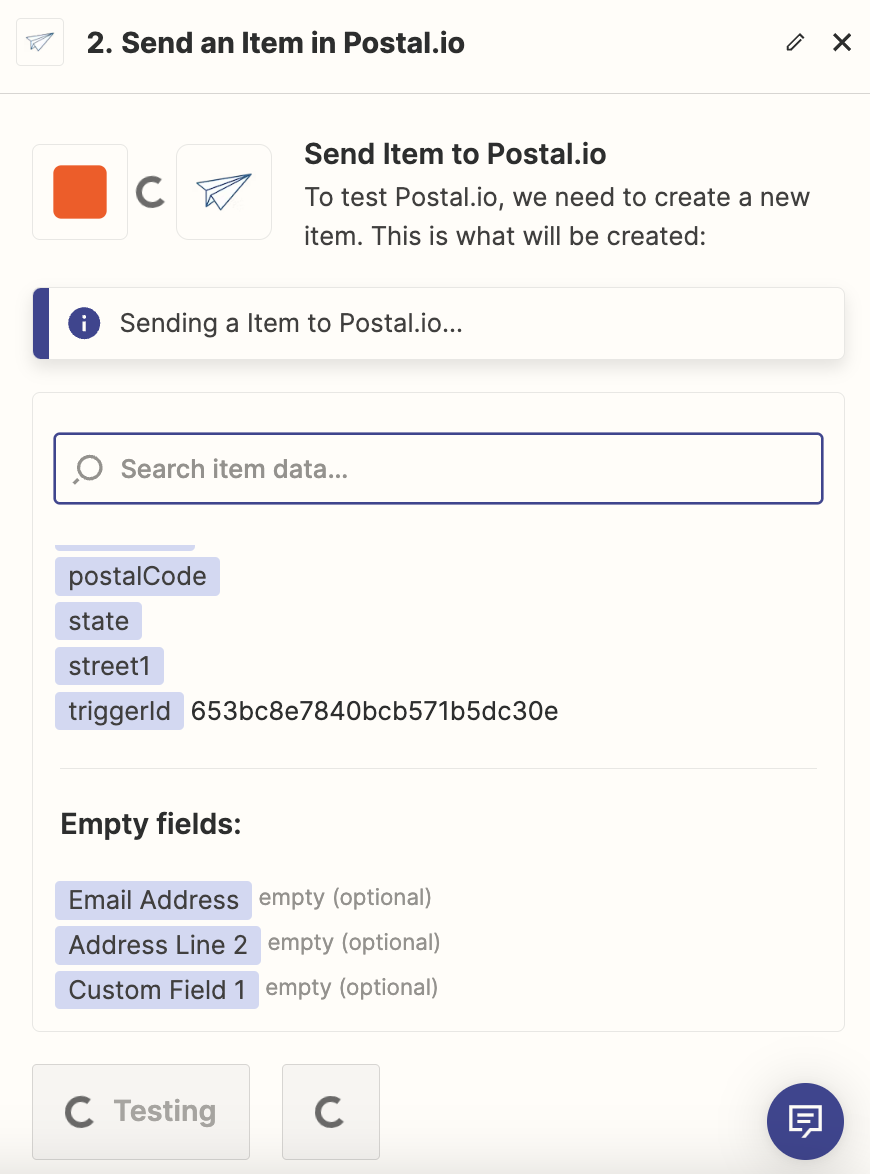
- Publish your Zap.
Complete and Run the Automated Program in Act-On
- Return to your Automated Program in Act-On.
- Update it with the Contact Sources you want.
- Start the program.
Related to